
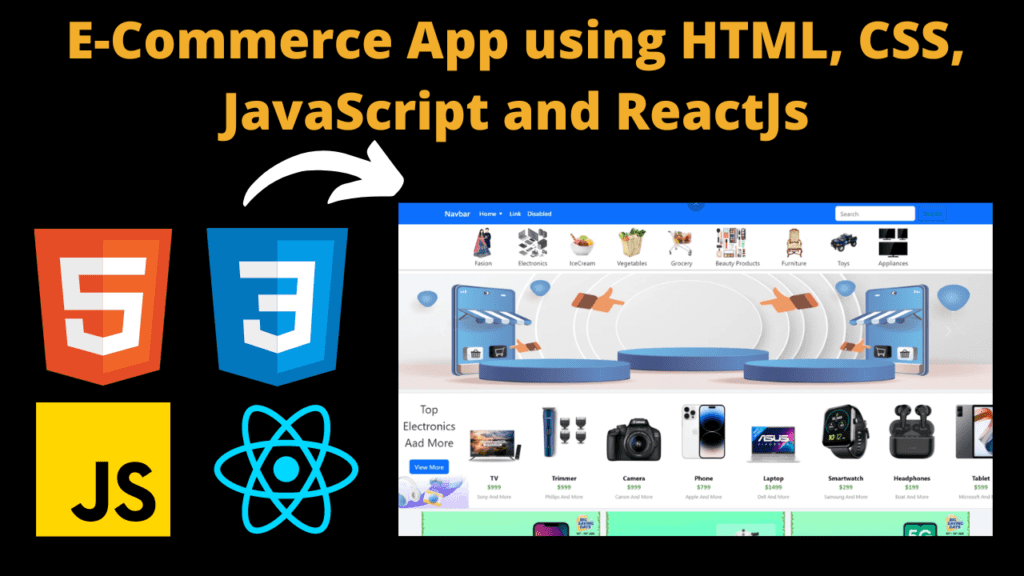
E-Commerce App using HTML, CSS, JavaScript and ReactJs With Source Code
Introduction :
This E-commerce app aims to provide users with an online shopping experience. The app is built using HTML for structure, CSS for styling, and JavaScript for dynamic behavior. React is used to create reusable components and manage the app’s state efficiently. The foundation of our app lies in the robust trio of HTML, CSS, and JavaScript, working in harmony to structure, style, and enhance the user interface. The utilization of React, a powerful JavaScript library, further elevates the development process by introducing a modular, component-based architecture. This not only ensures code reusability but also facilitates efficient state management, enhancing the overall responsiveness and performance of the application. Each component and service houses purposeful functions catering to specific aspects of the e-commerce process. From navigating through the app and fetching product data to adding items to the shopping cart and adjusting quantities, every function serves a crucial role in delivering a comprehensive and satisfying user experience. In essence, our e-commerce app isn’t just a platform for transactions; it’s a carefully crafted digital storefront, harmonizing technology and design to provide users with a memorable and enjoyable online shopping journey.
Explanation :
Project Structure:
Root Directory:
- public: Contains static assets like images, favicon, and the main HTML file.
- src: Houses the source code.
- components: Organizes React components.
- styles: Manages CSS files.
- utils: Stores utility functions.
- pages: Contains React components representing different pages (e.g., Home, ProductList, ProductDetails, Cart).
- services: Includes modules for handling API calls, authentication, etc.
- App.js: The main React component where routing and overall app structure is defined.
- index.js: The entry point for rendering the React app.
JavaScript Logic:
App Component (App.js):
- Routing: Utilize React Router to manage navigation between different pages.
- State Management: Use React Context or Redux for global state management.
- Lifecycle Methods: Implement lifecycle methods like
useEffectfor fetching data. - Error Handling: Incorporate error boundaries to handle unexpected errors gracefully.
Components:
Header Component:
- Display the app name/logo.
- Navigation links to different sections of the app.
ProductList Component:
- Fetch and display a list of products.
- Allow users to filter or sort the products.
ProductDetails Component:
- Display detailed information about a selected product.
- Allow users to add the product to the cart.
Cart Component:
- Display the items added to the cart.
- Allow users to adjust the quantity or remove items.
- Show the total amount.
Services:
API Service:
- Handle API calls to fetch product data.
- Potentially manage user authentication.
LocalStorage Service:
- Manage storing and retrieving data from the local storage, e.g., the shopping cart.
Purpose of Functions:
Component Functions:
Header:
handleNavigation: Navigate to different sections.
ProductList:
fetchProducts: Retrieve and display a list of products.
ProductDetails:
addToCart: Add a selected product to the shopping cart.
Cart:
adjustQuantity: Change the quantity of items in the cart.removeItem: Remove an item from the cart.
Utility Functions:
API Service:
fetchData: Make HTTP requests to the server.
LocalStorage Service:
getItem: Retrieve an item from local storage.setItem: Store an item in local storage.
Instructions to run this project :
Step 01 : Download the zip file of source code (given below) and extract it.
Step 02 : Navigate to the Project Directory:
- Once the repository is cloned, navigate into the project directory using the
cdcommand: cd <project_directory> - Replace
<project_directory>with the name of the directory where the project was cloned.
Step 03 : Install Dependencies:
- Inside the project directory, run the following command to install project dependencies using Yarn : yarn install
- This command will read the
package.jsonfile and install all required dependencies listed in it.
Run the Project:
- After installing dependencies, you can start the development server using the following command: yarn start
- This command will start the development server and automatically open the project in your default web browser.
- Once the development server is up and running, you can access the project by opening your web browser and navigating to the specified address (usually
http://localhost:3000). - You can now explore the e-commerce app, navigate through different pages, interact with components, and experience the functionality firsthand.
Get Discount on Top Educational Courses
Source Code :
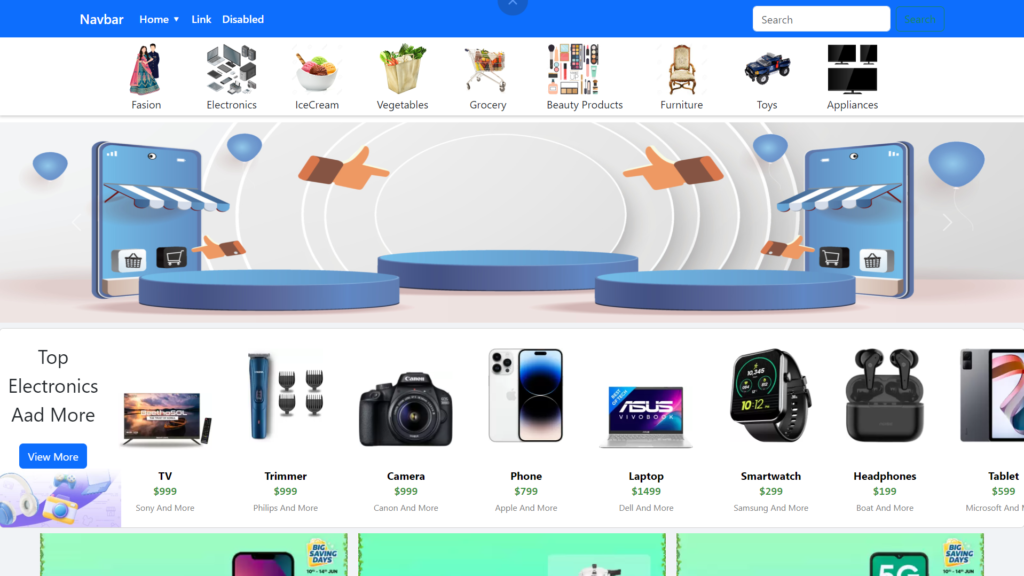
Output :
Find More Projects

URL Shortener Using Python Django Introduction: Long URLs can be shortened into short, shareable links with the help of the URL Shortener …

User Authentication System Using Python Django Introduction: The implementation of safe and adaptable user authentication in Django is the main goal of …

The E-Learning System using Java with a Graphical User Interface (GUI) Introduction The E-Learning System is developed using Java (with a Graphical …

Weather App Using Python Django Introduction: When a user enters the name of a city, the Weather App retrieves current weather information. …

Quiz App Using Python Django Introduction: Users can take quizzes in a variety of subjects, see their results, and monitor their progress …

resume screener in python using python introduction The hiring process often begins with reviewing numerous resumes to filter out the most suitable …
More HTML CSS JS Projects

Get Huge Discounts
