
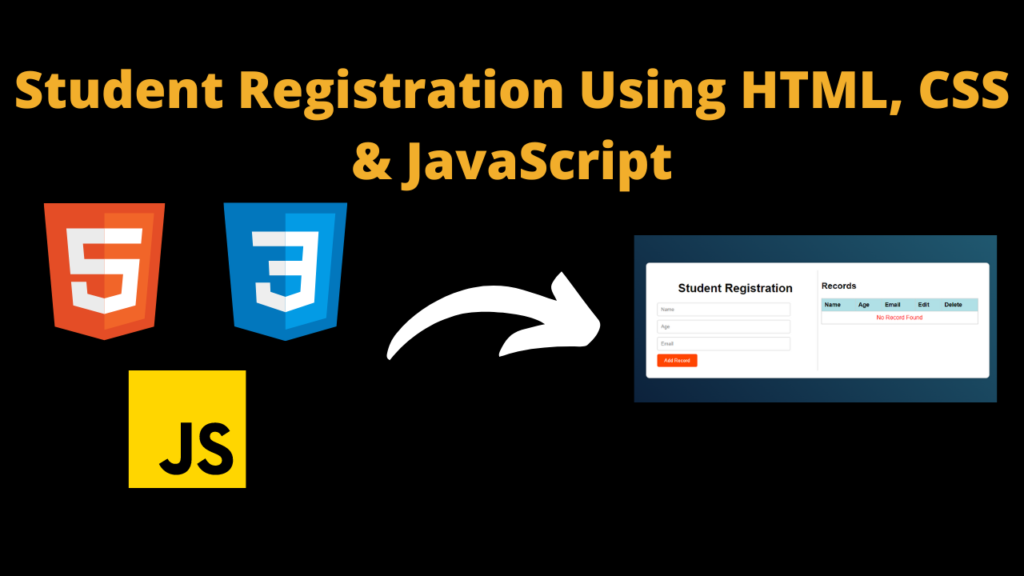
Student Registration Dashboard Using HTML , CSS And JavaScript With Source Code
Introduction
Hello friends, welcome to a new blog post, today we have created Student Registration Dashboard Using HTML, CSS & Javascript, which is very respectful and good, we have created it with the help of pure Javascript and some other languages too. has not been added to the code
Friends, in this, if you want to register a new student i.e. you want to add that student, then you can add him. To add the student, i.e. for registration, you will need name, age and email, these are three types. We have added the inputs, you have to add these three then you can register the student.
					<form id="record-form">
<input type="text" id="name" placeholder="Name" required>
<input type="number" id="age" placeholder="Age" required>
<input type="text" id="email" placeholder="Email" required>
<button type="submit">Add Record</button>
<input type="hidden" id="edit-index" value="-1">
</form>
To make this student registration dashboard better, we have used a table so that there is no problem and in this code you will also be showing the delete option, so let me tell you that we have divided this student dashboard into two parts. In one, the student is registered and in the other, the details of the registered student are shown and we have added this delete button. With this, if you want to delete any record of the student, then you can delete the record by pressing the delete button. Can be removed which improves the user interface.
					<table>
<head>
<tr>
<th>Name</th>
<th>Age</th>
<th>Email</th>
<th>Edit</th>
<th>Delete</th>
</tr>
</thead>
<tbody id="record-list"></tbody>
</table>
You can see in the code what we have added and also if you want to add something from your side then you can add it.
Follow these steps to use Student Registration:-
Friends, if you want to use this student registration form, then you need to pay attention to some important things like you should know how to link style.css file with HTML.
If you do not know what the style.css file means and what it is, then let me tell you that in this file the code is written in which we can style whatever website login form we want to create. Like what will be the color of the body, etc., we do all this work in this file and we have also styled the student registration dashboard in it.
Friends, if you do not even know about the script.js file, then let me tell you that if you have created any login form in this file, then you can copy its code to make it work properly. You can write in this file like if a user clicks on the login button then the user should be logged in to the website, in this way all the important information is written in this file.
To link both these files with the HTML file, you have to follow the steps given below.
- First of all, you will have to create a folder in your computer, which you can name as per your choice.
- Now open the folder you have created in your computer in whatever code editor you use to code.
- Now after opening the folder in the code editor, you have to create three files in that folder: index.html, style.css and then the last file script.js.
- Now to link the style.css and script.js files with the index.html file, you have to use the tags given below.
- This tag will link the style.css file to the HTML, which you have to place below the title. <link rel=”stylesheet” href=”style.css”>
- Now this tag has to be placed above the body so that your script file is linked to the HTML.<script src=”main.js”></script>
HTML (index.html)
Get Discount on Top Educational Courses
  <title>Document</title>


  <div class="container">
    <div class="left">
        <h1>Student Registration</h1>


            <button type="submit">Add Record</button>


    </div>
    <div class="right">
        <h2>Records</h2>
        <table>
            <thead>
                <tr>
                    <th>Name</th>
                    <th>Age</th>
                    <th>Email</th>
                    <th>Edit</th>
                    <th>Delete</th>
                </tr>
            </thead>
            <tbody id="record-list"></tbody>
        </table>
    </div>
</div>
CSS (Style.css)
					body {
  font-family: Arial, sans-serif;
  display: flex;
  justify-content: center;
  align-items: center;
  height: 100vh;
  background-image: linear-gradient(45deg, #091832, #24637a);
}
.container {
  display: flex;
  flex-wrap: wrap;
  max-width: 900px;
  margin: 0 auto;
  border: 1px solid #ccc;
  padding: 20px;
  background-color: white;
  border-radius: 10px;
  box-shadow: 0px 0px 10px rgba(0, 0, 0, 0.1);
}
.left {
  flex: 1;
  padding: 10px;
}
.right {
  flex: 1;
  padding: 10px;
  border-left: 1px solid #ccc;
}
h1 {
  text-align: center;
}
table {
  width: 100%;
  border-collapse: collapse;
}
th,
td {
  border: 1px solid #ccc;
  padding: 8px;
  text-align: left;
}
th {
  background-color: powderblue;
}
/* Style for input elements */
input[type='text'],
input[type='number'] {
  width: 80%;
  padding: 10px;
  margin-bottom: 10px;
  border: 1px solid #ccc;
  border-radius: 4px;
}
/* Style for buttons */
button {
  padding: 10px 20px;
  background-color: orangered;
  color: #fff;
  border: none;
  border-radius: 4px;
  cursor: pointer;
}
button:hover {
  background-color: rgba(255, 68, 0, 0.493);
  color: black;
}
.deleteButton {
  text-align: center;
}
i {
  margin: 5px 7px;
  font-size: 20px;
  cursor: pointer;
}
#yesBtn:hover {
  color: red;
}
#noBtn:hover {
  color: green;
}
Javascript (Script.js)
const recordForm = document.getElementById('record-form');
const nameInput = document.getElementById('name');
const ageInput = document.getElementById('age');
const emailInput = document.getElementById('email');
const recordList = document.getElementById('record-list');
const editIndexInput = document.getElementById('edit-index');
// Initialize records from local storage
let records = JSON.parse(localStorage.getItem('records')) || [];
console.log(records.length);
// Function to check for duplicate names
function isDuplicateName(email) {
return records.some(
(record) => record.email.toLowerCase() === email.toLowerCase()
);
}
// Display records
function displayRecords() {
recordList.innerHTML = '';
console.log(records.length);
if (records.length === 0) {
const row = document.createElement('tr');
row.innerHTML = `<td colspan="5" style="text-align:center;color:red">No Record Found</td>`;
recordList.appendChild(row);
} else {
records.forEach((record, index) => {
const row = document.createElement('tr');
row.innerHTML = `
<td>${record.name}</td>
<td>${record.age}</td>
<td>${record.email}</td>
<td><button>Edit</button></td>
<td class="deleteButton"><button>Delete</button></td>
`;
recordList.appendChild(row);
});
}
}
// Add or Update a record
recordForm.addEventListener('submit', function (e) {
e.preventDefault();
const name = nameInput.value;
const age = ageInput.value;
const email = emailInput.value;
const editIndex = parseInt(editIndexInput.value);
if (name && age && email) {
if (isDuplicateName(email) && editIndex === -1) {
alert('Student already exists.');
return;
}
if (editIndex === -1) {
// Add a new record
records.push({ name, age, email });
} else {
// Update an existing record
records[editIndex] = { name, age, email };
editIndexInput.value = -1;
}
localStorage.setItem('records', JSON.stringify(records));
nameInput.value = '';
ageInput.value = '';
emailInput.value = '';
displayRecords();
}
});
// Edit a record
function editRecord(index) {
const recordToEdit = records[index];
nameInput.value = recordToEdit.name;
ageInput.value = recordToEdit.age;
emailInput.value = recordToEdit.email;
editIndexInput.value = index;
}
// Delete a record
function deleteRecord(index) {
displayRecords();
let delBtn = document.querySelectorAll('.deleteButton');
console.log(delBtn);
delBtn[
index
].innerHTML = `<i id="yesBtn" class="fa-solid fa-check"></i><i id="noBtn" class="fa-solid fa-xmark"></i>`;
}
function confirmDelete(index) {
records.splice(index, 1);
localStorage.setItem('records', JSON.stringify(records));
displayRecords();
}
function resetDelete(index) {
displayRecords();
}
// Initial display
displayRecords();
Top 5 Data Science Courses to Build a Strong Career in 2026 Data science is no longer limited to tech companies. Banks …
Free Things You Get With Your College ID 🎓 Free / Discounted Platforms with College ID Platform What You Get (Student Benefits) …
25 Best Free Great Learning Courses for CSE Students (With Certificates) – Start Learning Today! If you’re a CSE student, engineering fresher, …

Why Target Test Prep Is the Best GMAT/GRE Prep Platform in 2025? Preparing for the GMAT or GRE has changed drastically in …
Get Huge Discounts

More Python Projects
