
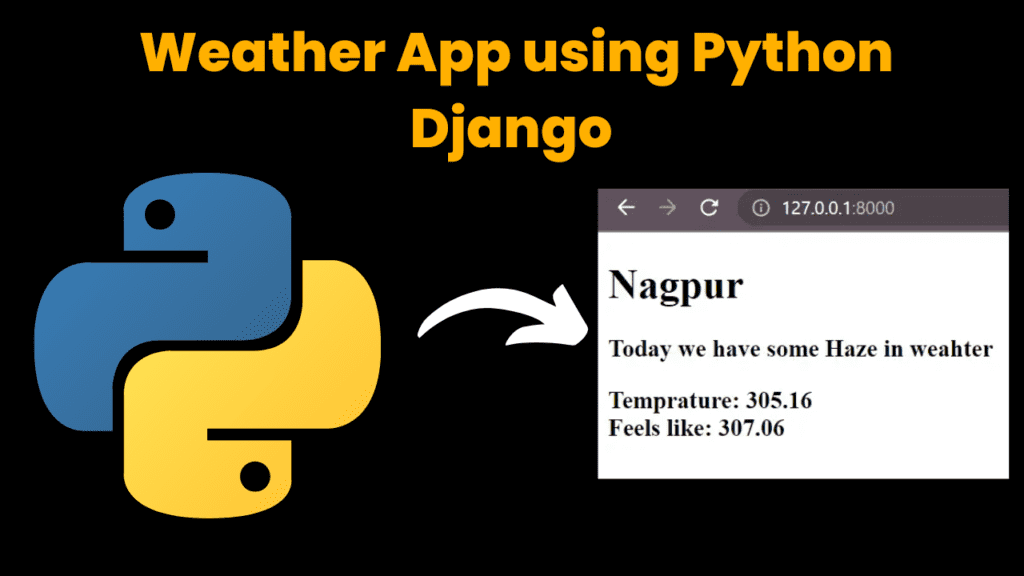
Weather App using Django With Source Code
Introduction :
This blog post will show you how to make a weather app using Django. Django is a Python web framework that makes it easy to build web applications. We will use the OpenWeatherMap API to get weather data for different cities. It is a high-level framework, which means that it provides a lot of pre-written code and functionality that you can use to build your web applications. This can save you a lot of time and effort and help ensure that your applications are secure and well-designed.
Who Can Help Me With Building a Django App?
If you’re looking to build a Django app, several options are available to help you achieve this. You can consider hiring a freelance developer skilled in Django and Python, or you may opt for online tutorials and courses for a DIY approach. Web development bootcamps also offer intensive training programs. Another viable option is to engage a software development agency like Webisoft, which specializes in Python and Django development and has the expertise to bring your project to completion efficiently.
Explanation :
Django is a popular choice for building web applications, and it is used by a variety of companies, including Instagram, Pinterest, and Disqus. It is also a good choice for beginners, as it is relatively easy to learn and use.
Here are some of the benefits of using Django:
- Rapid development: Django can help you to develop web applications quickly and easily.
- Security: Django is a secure framework, and it includes features such as user authentication and authorization, as well as a content security policy (CSP).
- Reusability: Django is a reusable framework, and it includes a number of reusable components that you can use in your own applications.
- Community: Django has a large and active community, and there are a number of resources available to help you learn and use Django.
To make a weather app using Django, you will need the following:
- A computer with Python installed
- The Django framework installed
- An API key from a weather service
Once you have all of the required tools, you can follow these steps to make your weather app:
- Create a new Django project.
- Create a new app for your project.
- Add the weather service API key to your settings.py file.
- Create a view that will get the weather data from the API.
- Create a template that will display the weather data.
- Run the server and test your app.
Let us get started with the terminal,
we start by creating a virtual environment for our web app with venv which creates a venv directory that has files and a directory like Scripts that needs to be accessed next. NOTE: the next command is different if you are using a Mac or Windows powershell or the terminal of your IDE in Windows.
Next, install Django in this environment by using the pip install django comand in the terminal. You may face an error in the next line to start the project if you do not install Django here.
Moving forward, add the weather or the name of your projects directory to the list of installed apps in the settings.py file. Now, make migrations as shown in the code to use the database.
Also, to get your API key: Click on this documentation link – OpenWeatherMap
Once you sign up using your email, the API key (APPID) will be sent to you in a confirmation email. Your API keys can always be found on your account page, where you can also generate additional API keys if needed.
Now, in the code of views.py :
The first line imports the HttpResponse class from the django.http module. This class is used to create HTTP responses.
The following line defines the index() view function. This function gets the weather data for the city of London and returns it as an HTTP response.
The other line calls the get_weather_data() function to get the weather data for the city of London. The last line returns an HttpResponse object with the weather data.
The get_weather_data() function is not shown in the code. This function would be responsible for getting the weather data from a weather service. The weather data would be returned as a JSON object. The index() view function would then convert the JSON object to a Python object and return it as an HTTP response.
Now, after making the changes shown in the views.py code let’s move to the urls.py file. Here, we add the path to the home function in the views.py file.
The HTML template is for how your app page should look and display. It shows the weather of the city you have entered.
We are getting closer to our web app, and migrating the changes to the database using the python manage.py migrate command.
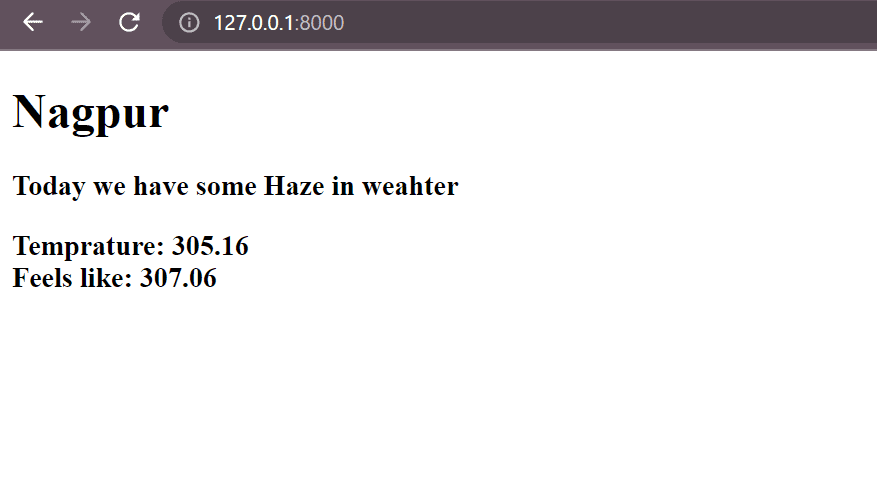
Now you can see your weather app after you run the server, on the localhost port (http://localhost:8000).
The code below is a very simple example of a Django view. It can be used to get the weather data for any city. You can use this code as a starting point to build your own weather app.
Source Code :
Get Discount on Top Educational Courses
					# in the terminal

# Create a virtual environment and install Django
python3 -m venv venv

#if you are using mac use next command as :
source venv/bin/activate

# REMEMBER if you are using windows
venv\Scripts\activate

pip install django

# Create a Django project
django-admin startproject weather

# cd into the weather directory
cd weather_app

# Create the weather app
python manage.py startapp weather

# Add the weather app to the installed apps in settings.py
INSTALLED_APPS = [
    'django.contrib.admin',
    'django.contrib.auth',
    'django.contrib.contenttypes',
    'django.contrib.sessions',
    'django.contrib.messages',
    'django.contrib.staticfiles',
    'weather',
    'weather_app',
]

# Add the OpenWeatherMap API key to settings.py
OPENWEATHERMAP_API_KEY = 'YOUR_API_KEY_HERE'
					Create the necessary views in the weather/views.py file:
from django.shortcuts import render
from django.http import request,HttpResponse
import requests

# Create your views here.
def home(request):
    if request.method == 'POST':
        city = request.POST.get('city')
        url = f'http://api.openweathermap.org/data/2.5/weather?q={city}&appid=YOUR_API_KEY'
        response = requests.get(url)
        data = dict(response.json())
        return render(request,'weather.html',{
            'city':data['name'],
            'main':data['weather'][0]['main'],
            'temp': data['main']['temp'],
            'max':data['main']['temp_max'],
            'min':data['main']['temp_min'],
            'feels':data['main']['feels_like'],
            })
    return render(request,'index.html',{})
    <title>Weather App</title>


        {% csrf_token %}
        <label for="city">Your City Name</label>


    <title>Weather at finger tips</title>


    <h1>{{city}}</h1>
    <h3>Today we have some {{main}} in weahter</h3>
    <h3>Temprature: {{temp}} <br>Feels like: {{feels}}</h3>
					#Update the urls.py file in the project's root directory:
from django.urls import path
from app import views

urlpatterns = [
    path('',views.home),
]

# Make migrations for the weather app
python manage.py makemigrations weather

# Migrate the changes to the database
python manage.py migrate
					# Now in the terminal again

# Run the server
python manage.py runserver

# Open the app in a web browser
http://localhost:8000
Output :

Find More Projects

URL Shortener Using Python Django Introduction: Long URLs can be shortened into short, shareable links with the help of the URL Shortener …

User Authentication System Using Python Django Introduction: The implementation of safe and adaptable user authentication in Django is the main goal of …

The E-Learning System using Java with a Graphical User Interface (GUI) Introduction The E-Learning System is developed using Java (with a Graphical …

Weather App Using Python Django Introduction: When a user enters the name of a city, the Weather App retrieves current weather information. …

Quiz App Using Python Django Introduction: Users can take quizzes in a variety of subjects, see their results, and monitor their progress …

resume screener in python using python introduction The hiring process often begins with reviewing numerous resumes to filter out the most suitable …
Get Huge Discounts

More Python Projects
