
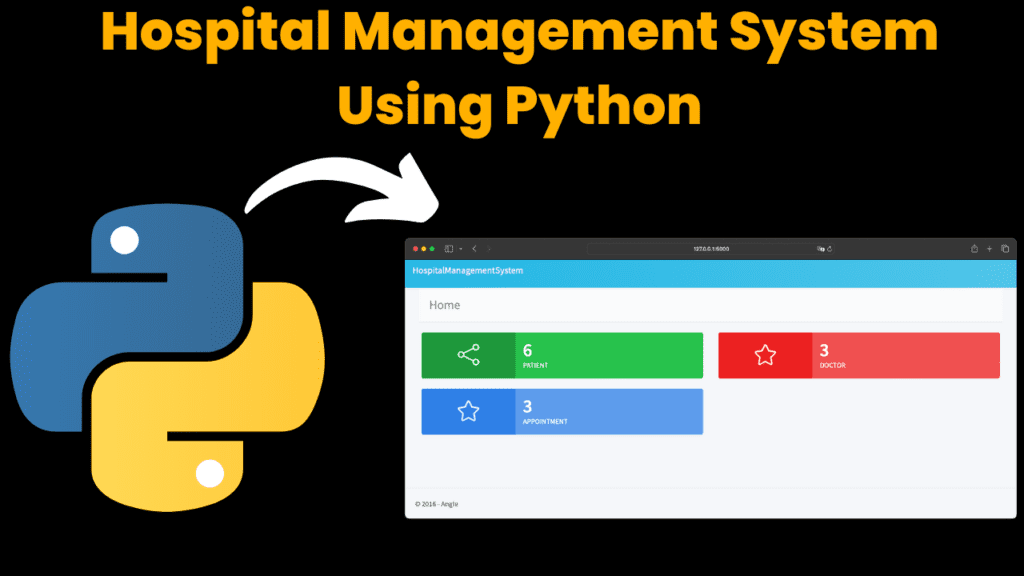
Hospital Management System using Python with Complete Source code [By using Flask Framework]
Introduction :
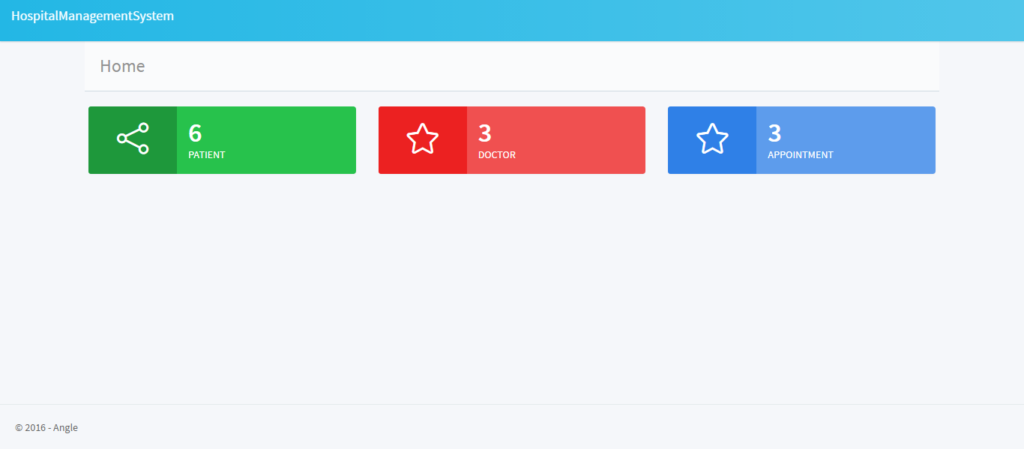
The Hospital Management System is a web-based application designed to streamline the management of medical practices, providing a comprehensive platform for handling patient records, doctor information, appointment scheduling, and common administrative tasks. Built on the Flask framework with RESTful API endpoints, this system offers a modern and efficient solution for healthcare providers to organize their operations seamlessly.
Key Features:
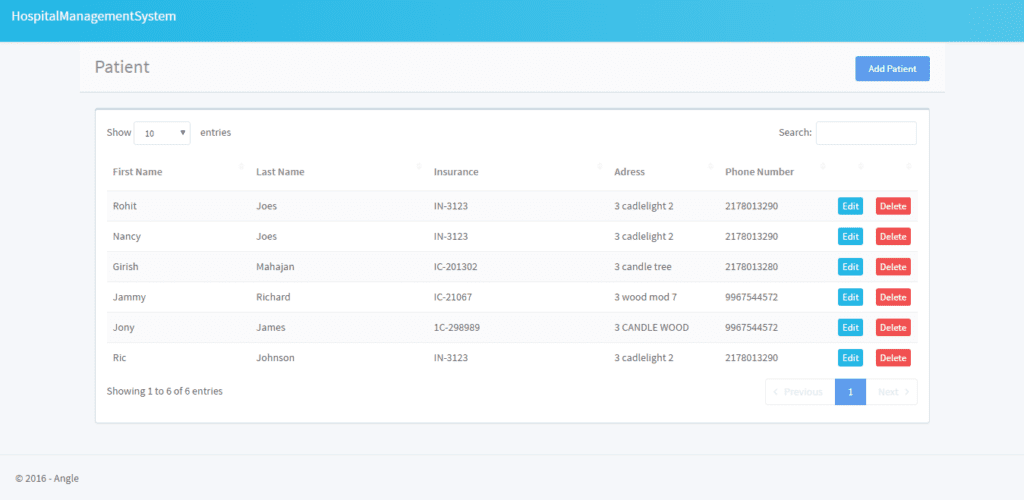
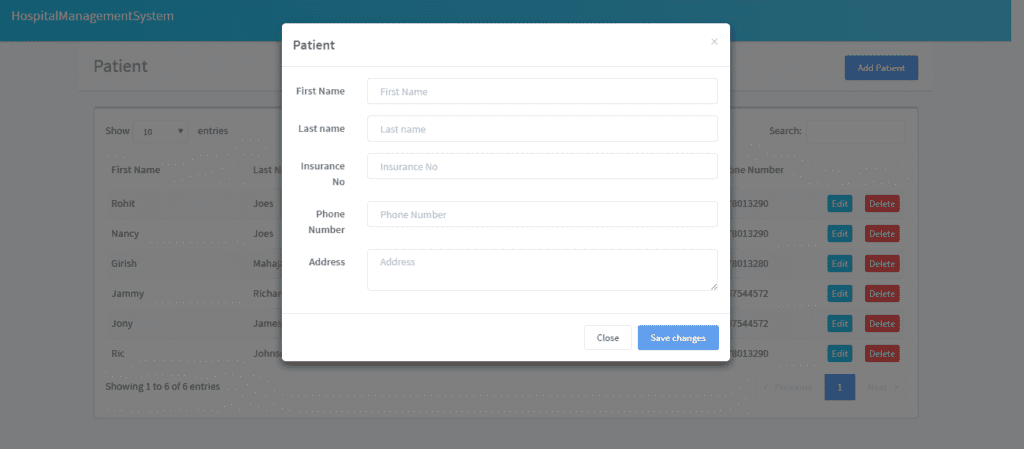
Patient Management: Efficiently manage patient records, including personal information, medical history, and appointments. With dedicated endpoints for creating, updating, and retrieving patient data, healthcare providers can easily access vital patient information.
Doctor Management: Maintain a database of doctors, including their specialties, contact details, and availability. The system allows for the creation, modification, and retrieval of doctor profiles, facilitating effective communication and coordination among medical staff.
Appointment Scheduling: Streamline appointment scheduling processes with intuitive features for booking, rescheduling, and canceling appointments. The system provides a user-friendly interface for patients to request appointments and for administrators to manage appointment calendars.
Common Functionalities: In addition to patient and doctor management, the system includes common functionalities such as authentication, authorization, and error handling. These features ensure the security and reliability of the application while providing a seamless user experience.
Technologies Used:
Flask Framework: The application is built using the Flask framework, a lightweight and modular framework for building web applications in Python. Flask provides the foundation for creating RESTful APIs and serving dynamic web content.
Flask-Restful: To simplify the development of RESTful APIs, the application leverages Flask-Restful, an extension for Flask that provides tools for quickly building API endpoints.
JSON Configuration: Configuration settings such as host and port are stored in a JSON file, allowing for easy customization and deployment of the application.
Code Explanation:
This Python code sets up a Flask web application with RESTful API endpoints for managing patients, doctors, appointments, and common functionalities. Here’s a breakdown of what each part of the code does:
Imports:
Flask: This is the main Flask class, used to create the Flask web application.send_from_directory: A Flask function for serving static files.render_template: A Flask function for rendering HTML templates.Flask-Restful: An extension for Flask that adds support for quickly building REST APIs.- Various custom modules (
Patients,Patient,Doctors,Doctor,Appointments,Appointment,Common) from thepackagedirectory, which presumably contain the implementations for handling different resources in the API. json: For working with JSON data.
Loading configuration:
- The code loads configuration settings from a JSON file named
config.jsonusing thejson.load()function. These settings likely include the host and port on which the Flask application should run.
- The code loads configuration settings from a JSON file named
Creating the Flask application and API:
- An instance of the Flask class is created with the name
app. - An instance of the Flask-Restful
Apiclass is created with theappinstance.
- An instance of the Flask class is created with the name
Adding RESTful resources:
- RESTful resources for managing patients (
Patients,Patient), doctors (Doctors,Doctor), appointments (Appointments,Appointment), and common functionalities (Common) are added to the API using theapi.add_resource()method.
- RESTful resources for managing patients (
Routes:
- A route for the root URL
'/'is defined using the@app.route()decorator. When users visit the root URL, the application will serve theindex.htmlfile from the static directory.
- A route for the root URL
Running the application:
- Finally, the application is run using the
app.run()method. Thedebug=Trueparameter enables debug mode, and thehostandportare set based on the values loaded from theconfig.jsonfile.
- Finally, the application is run using the
Required Modules:
In the provided project, several modules are required to build and run the Flask-based web application with RESTful API endpoints. Here are the required modules along with instructions on how to install them:
Flask: This is the main web framework used for building the application.
- Installation: You can install Flask using pip, the Python package installer.
pip install Flask
- Installation: You can install Flask using pip, the Python package installer.
Flask-Restful: This extension simplifies the process of building RESTful APIs in Flask.
- Installation:
pip install flask-restful
- Installation:
JSON: This module is used for working with JSON data, particularly for loading configuration settings from a JSON file.
- JSON is a built-in module in Python, so no installation is required.
- JSON is a built-in module in Python, so no installation is required.
How to Run the Code:
To run the provided Python code, which sets up a Flask web application with RESTful API endpoints, follow these steps:
- Download the project Code: Download the Project code from the given link, extract the folder then open the file app.py
Install Required Modules: Ensure that you have installed Flask and Flask-Restful by running the following commands in your terminal or command prompt:
pip install Flaskpip install flask-restfulRun the Application: Execute the Python script to start the Flask application. You can do this by running the script from the command line:
python app.py
Get Discount on Top Educational Courses
Source Code:
Output:
More Projects:
URL Shortener Using Python Django
URL Shortener Using Python Django Introduction: Long URLs can be shortened into short, shareable links with the help of the URL Shortener project. Though it
User Authentication System Using Python Django
User Authentication System Using Python Django Introduction: The implementation of safe and adaptable user authentication in Django is the main goal of this project. It
E-Learning System Using JAVA
The E-Learning System using Java with a Graphical User Interface (GUI) Introduction The E-Learning System is developed using Java (with a Graphical User interface through

Weather App Using Python Django with Source Code
Weather App Using Python Django Introduction: When a user enters the name of a city, the Weather App retrieves current weather information. It provides temperature,
Quiz App Using Python Django with complete source code
Quiz App Using Python Django Introduction: Users can take quizzes in a variety of subjects, see their results, and monitor their progress with the Django
Resume Screener in python using GUI
resume screener in python using python introduction The hiring process often begins with reviewing numerous resumes to filter out the most suitable candidates for a
Get Huge Discounts

More Python Projects
