Breakout Game Using HTML CSS and JavaScript With Source Code
Introduction
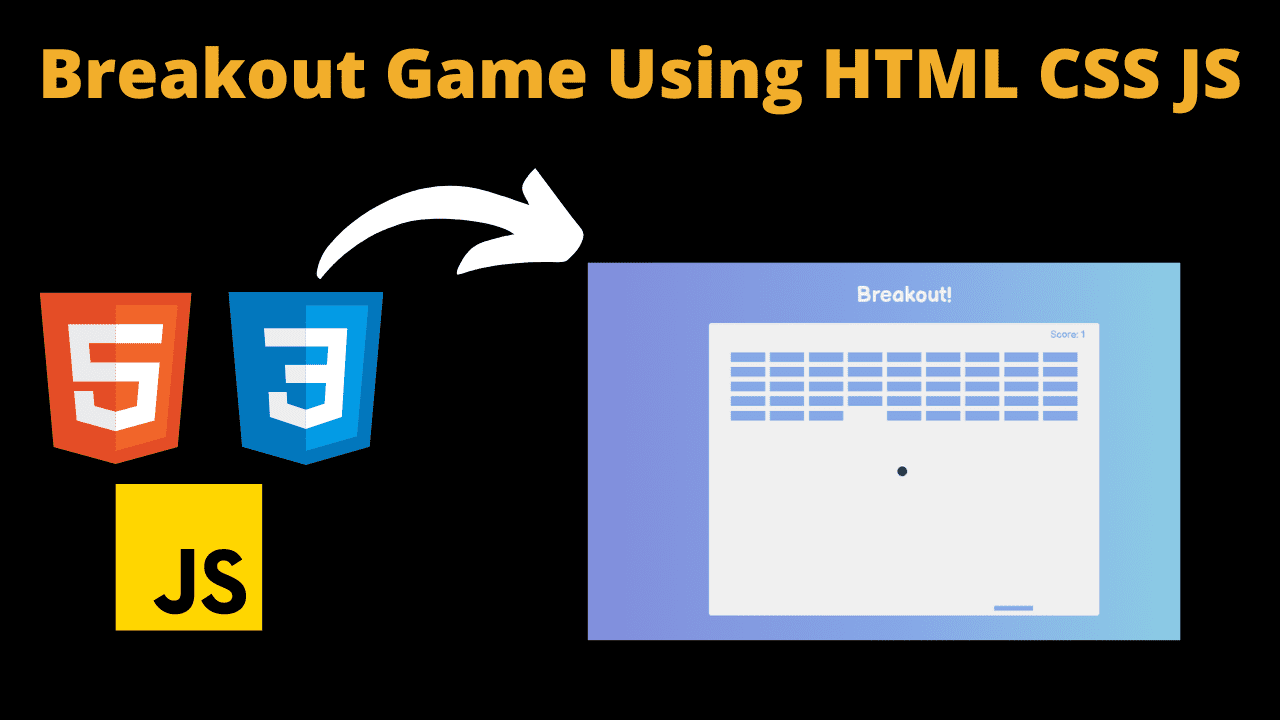
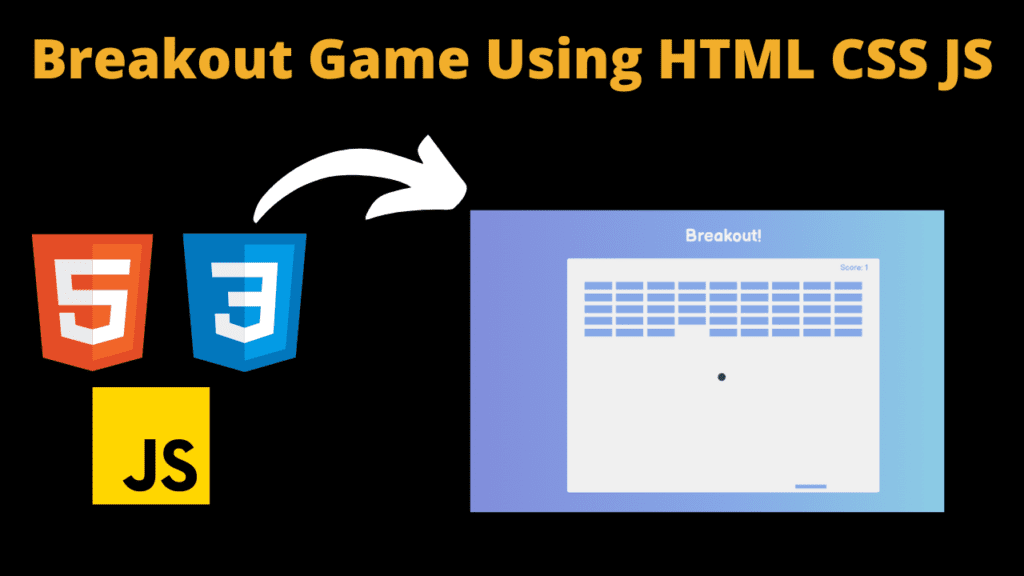
Hello friends, welcome to today’s new blog post. All of you are welcome. Today I have created a best game for you using html css and javascript which is going to be very amazing. And friends, the name of this game is breakout game which you must have played many times. Today I have created this beautiful game for you. This game is going to be absolutely beginner friendly. Even if you do not have much coding knowledge, you can still use this project because in this game, we will tell you with full details that how this game is developed, in which first of all we need html code. without html you can’t make a game with html first of all we have to make a structure and then we will need css which will help us in designing our game and lastly we will have to use javascript which is very important for our game without javascript you can make a game but that game will not work
so friends let’s understand the whole code step by step which is very important to see otherwise you may face problem in running the code
HTML (index.html)
The code which you are getting to see below is our HTML code which is very important to create the structure of our game, without HTML your game cannot be made, we have not used much HTML code, we have used some words and text, so let’s understand that code.
- First of all, let’s start with the <title>CodeWithCurious.com – Breakout Game</title> title tag in the HTML code. Friends, this is important because it lets us know what our project is about and it has many other benefits as well.
- <link rel=”icon” href=”….”> With the help of this link we can add the icon of our game. You have to put the link of your icon between these double quotes href=”….”
- <body></body> This is an important part of our HTML. Our HTML code is written between the open </body> tag and close </body> tag.
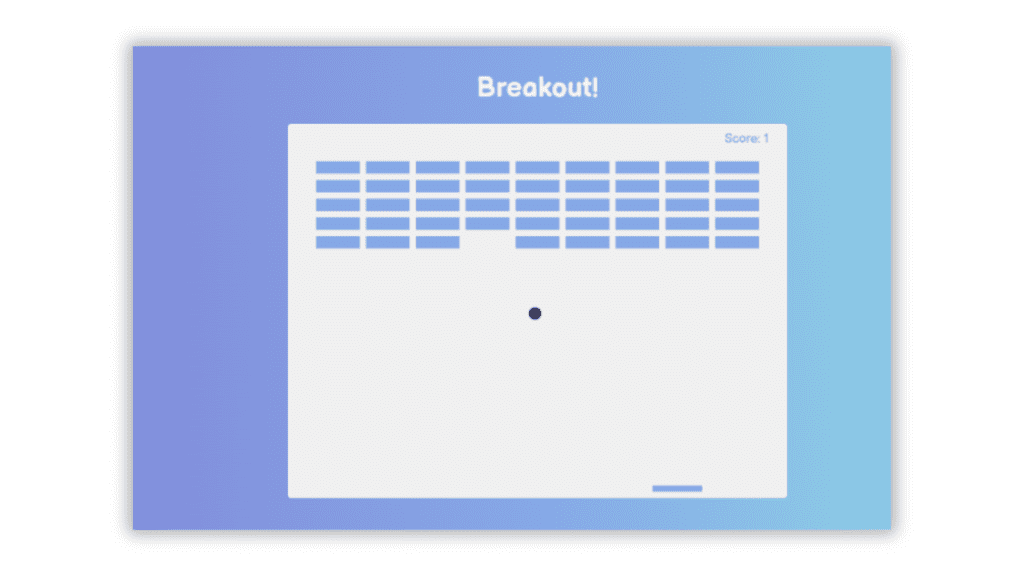
- <h1>Breakout!</h1> You might have understood that this is the title of our game which we have used in h1 heading.
- <button id=”rules-btn” class=”btn rules-btn”>Show Rules</button> We have used a button in our game which we have named “Show Rules” on which if a user clicks then he will get to see the rules of the game.
- <div id=”rules” class=”rules”> But friends, we have used this <div> so that we can add our rules in it.
- <h2>How To Play:</h2> First of all we have added a text with the help of h2 heading “How To Play“
- <p> …..</p> Then we have added rules in text format which is a paragraph tag in which we can put long paragraphs
- <button id=”close-btn” class=”btn”>Close</button> Then we have created a close button, for which we have used the HTML <button> element
- <canvas id=”canvas”></canvas> Friends, this is important for our game because with its help we can do graphics-related things like circles, drawing etc.
- To link the javascript file with the html file we have used <script src=”script.js”></script> tag which is necessary.
    <title>CodeWithCurious.com - Breakout Game</title>


    <h1>Breakout!</h1>
    <button id="rules-btn" class="btn rules-btn">Show Rules</button>
    <div id="rules" class="rules">
      <h2>How To Play:</h2>
      <p>
        Use your right and left keys to move the paddle to bounce the ball up
        and break the blocks.
      </p>
      <p>If you miss the ball, your score and the blocks will reset.</p>
      <button id="close-btn" class="btn">Close</button>
    </div>
CSS (Style.css)
If you don’t know then let me tell you that for any project it is very important to have a correct design of the project. If the design of your project is not good then it is of no use. That is why we have to use CSS through which we can design our project well. So let’s now understand our CSS code.
- First of all we need to have a good and suitable font for our project so we have used this font: font-family: “Balsamic Breath”, Kursiwe;
- We have used gradient color in the background of our game background: linear-gradient( to right, var(–background-color), var(–button-color), var(–background-secondary-color) ) ;
- display: flex; in the body we have flexed the item which then allows us to center our other elements
- flex-direction: column; We have made the item column because in our game all the items were in one line, to correct which we have made it column
- We have centered the item align-items: center; and we have also centered the content justify-content: center;
- We have kept the font size of H1 heading as font-size: 2.75rem; 2.7rem
- The width of the canvas is width: 800px; and the main width is max-width: 96%; We have also used a little border radius border-radius: 5px; which you will see in the game
- We have used pointer in the button cursor: pointer; , we have kept border radius 5px, in the background of the button we have used this color background-color: var(–button-color); and for font family we have kept it like this font-family: inherit;
- We have used hover effect in the button for which we have used this color background-color: var(–hover-color);
					@import url("https://fonts.googleapis.com/css2?family=Balsamiq+Sans:wght@400;700&display=swap");

:root {
  --background-color: #7f7fd5;
  --background-secondary-color: #91eae4;
  --canvas-color: #f0f0f0;
  --text-color: rgba(255, 255, 255, 0.87);
  --sidebar-color: #343457;
  --button-color: #86a8e7;
  --hover-color: #7db3e3;
}

* {
  box-sizing: border-box;
}

body {
  background-color: var(--background-color);
  background: linear-gradient(
    to right,
    var(--background-color),
    var(--button-color),
    var(--background-secondary-color)
  );
  font-family: "Balsamiq Sans", cursive;
  display: flex;
  flex-direction: column;
  align-items: center;
  justify-content: center;
  min-height: 100vh;
  margin: 0;
}

h1 {
  font-size: 2.75rem;
  color: var(--text-color);
}

canvas {
  background-color: var(--canvas-color);
  display: block;
  border-radius: 5px;
  width: 800px;
  max-width: 96%;
}

.btn {
  cursor: pointer;
  border: 0;
  padding: 0.625rem 1.25rem;
  background-color: var(--button-color);
  color: var(--text-color);
  border-radius: 5px;
  font-family: inherit;
  font-size: 1rem;
}

.btn:focus {
  outline: 0;
}

.btn:hover {
  background-color: var(--hover-color);
}

.btn:active {
  transform: scale(0.98);
}

.rules-btn {
  position: absolute;
  top: 1.875rem;
  left: 1.875rem;
}

.rules {
  position: absolute;
  top: 0;
  left: 0;
  background-color: var(--sidebar-color);
  color: var(--text-color);
  min-height: 100vh;
  width: 400px;
  padding: 3rem;
  line-height: 1.5;
  transform: translateX(-400px);
  transition: transform 1s ease-in-out;
}

.rules.show {
  transform: translateX(0);
}
Javascript (Script.js)
Friends this code is very important for us which is javascript code. If you have made your game with the help of HTML or CSS and have also designed it but if you make any mistake in the javascript code then your game will not work and if you have not used the javascript code then you can only see the game but cannot play it.
The below code which has been given to you is the javascript code of our breakout game with the help of which we have completed our game.
					const rulesButton = document.getElementById("rules-btn");
const closeButton = document.getElementById("close-btn");
const rules = document.getElementById("rules");
const canvas = document.getElementById("canvas");
const ctx = canvas.getContext("2d");
const color = getComputedStyle(document.documentElement).getPropertyValue(
  "--button-color"
);
const secondaryColor = getComputedStyle(
  document.documentElement
).getPropertyValue("--sidebar-color");
let score = 0;
const brickRowCount = 9;
const brickColumnCount = 5;

// Reference: https://stackoverflow.com/questions/34772957/how-to-make-canvas-responsive
// https://stackoverflow.com/questions/39771732/drawing-to-responsive-canvas-that-is-100-width-and-height
const heightRatio = 0.75;
canvas.height = canvas.width * heightRatio;
ctx.canvas.width = 800;
ctx.canvas.height = ctx.canvas.width * heightRatio;

// Elements
const ball = {
  x: canvas.width / 2,
  y: canvas.height / 2,
  size: 10,
  speed: 4,
  dx: 4,
  dy: -4,
};

const paddle = {
  x: canvas.width / 2 - 40,
  y: canvas.height - 20,
  w: 80,
  h: 10,
  speed: 8,
  dx: 0,
};

const brickInfo = {
  w: 70,
  h: 20,
  padding: 10,
  offsetX: 45,
  offsetY: 60,
  visible: true,
};

const bricks = [];
for (let i = 0; i < brickRowCount; i++) {
  bricks[i] = [];
  for (let j = 0; j  {
    column.forEach((brick) => {
      ctx.beginPath();
      ctx.rect(brick.x, brick.y, brick.w, brick.h);
      ctx.fillStyle = brick.visible ? color : "transparent";
      ctx.fill();
      ctx.closePath();
    });
  });
}

function draw() {
  // clear
  ctx.clearRect(0, 0, canvas.width, canvas.height);
  // draw
  drawBall();
  drawPaddle();
  drawScore();
  drawBricks();
}

// Animate Elements
function movePaddle() {
  paddle.x += paddle.dx;
  if (paddle.x + paddle.w > canvas.width) paddle.x = canvas.width - paddle.w;
  if (paddle.x  canvas.width || ball.x - ball.size  canvas.height || ball.y - ball.size  paddle.x &&
    ball.x + ball.size  paddle.y
  ) {
    ball.dy = -ball.speed;
  }
  // bricks
  bricks.forEach((column) => {
    column.forEach((brick) => {
      if (brick.visible) {
        if (
          ball.x - ball.size > brick.x && // left brick side check
          ball.x + ball.size  brick.y && // top brick side check
          ball.y - ball.size  canvas.height) {
    showAllBricks();
    score = 0;
  }
}

function increaseScore() {
  score++;
  if (score % (brickRowCount * brickRowCount) === 0) {
    // no remainder
    showAllBricks();
  }
}

function showAllBricks() {
  bricks.forEach((column) => {
    column.forEach((brick) => (brick.visible = true));
  });
}

// Handle Key Events
function keyDown(e) {
  if (e.key === "Right" || e.key === "ArrowRight") paddle.dx = paddle.speed;
  else if (e.key === "Left" || e.key === "ArrowLeft") paddle.dx = -paddle.speed;
}

function keyUp(e) {
  if (
    e.key === "Right" ||
    e.key === "ArrowRight" ||
    e.key === "Left" ||
    e.key === "ArrowLeft"
  ) {
    paddle.dx = 0;
  }
}

// Update Canvas
function update() {
  // update
  movePaddle();
  moveBall();
  // draw
  draw();
  requestAnimationFrame(update);
}

// Event Listeners
document.addEventListener("keydown", keyDown);
document.addEventListener("keyup", keyUp);
rulesButton.addEventListener("click", () => rules.classList.add("show"));
closeButton.addEventListener("click", () => rules.classList.remove("show"));

// Init
update();
Output:
Disclaimer: The code provided in this post is sourced from GitHub and is distributed under the MIT License. All credits for the original code go to the respective owner. We have shared this code for educational purposes only. Please refer to the original repository for detailed information and any additional usage rights or restrictions.
Build a Quiz Game Using HTML CSS and JavaScript Introduction Hello coders, you might have played various games, but were you aware …
Emoji Catcher Game Using HTML CSS and JavaScript Introduction Hello Coders, Welcome to another new blog. In this article we’ve made a …
Typing Challenge Using HTML CSS and JavaScript Introduction Hello friends, all you developer friends are welcome to our new project. If you …
Breakout Game Using HTML CSS and JavaScript With Source Code Introduction Hello friends, welcome to today’s new blog post. All of you …


