
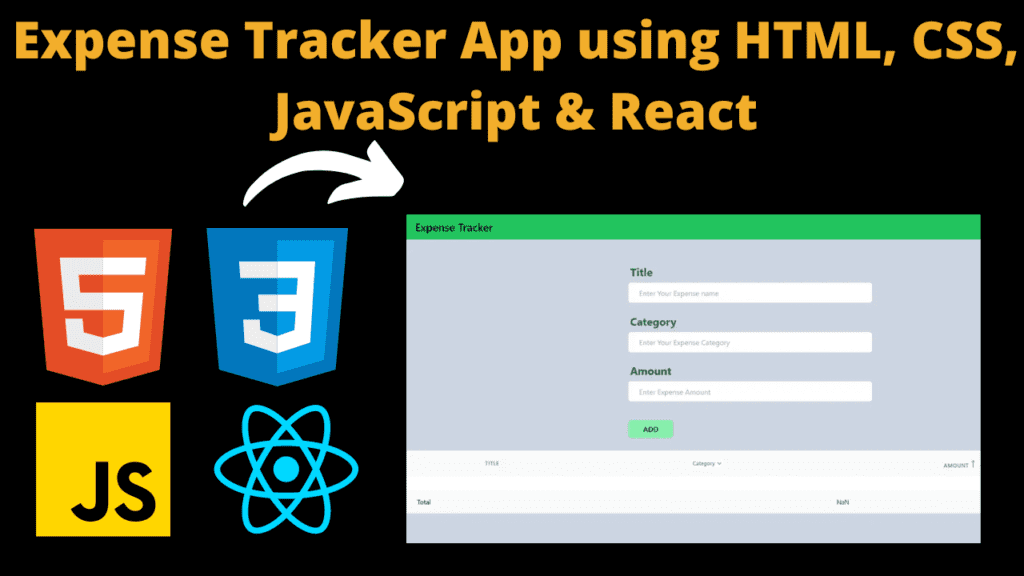
Expense Tracker App using HTML, CSS, JavaScript & React With Source Code
Introduction :
Expense Tracker is created using React is a comprehensive financial management tool designed to help users track and manage their expenses efficiently. The application employs a modular structure, utilizing React components for distinct functionalities.
The AddForm component serves as the gateway for users to input new expenses or edit existing ones. It includes dynamic form elements for title, category, and amount, complete with real-time error validation to ensure accurate data entry. The form’s logic seamlessly handles both addition and modification of expense records, synchronizing with the app’s state and persisting data in local storage.
The ContextMenu component enhances user interaction by providing context-specific options for each expense entry in the main table. It facilitates intuitive expense management through functionalities such as deleting and editing individual records, enhancing the user experience.
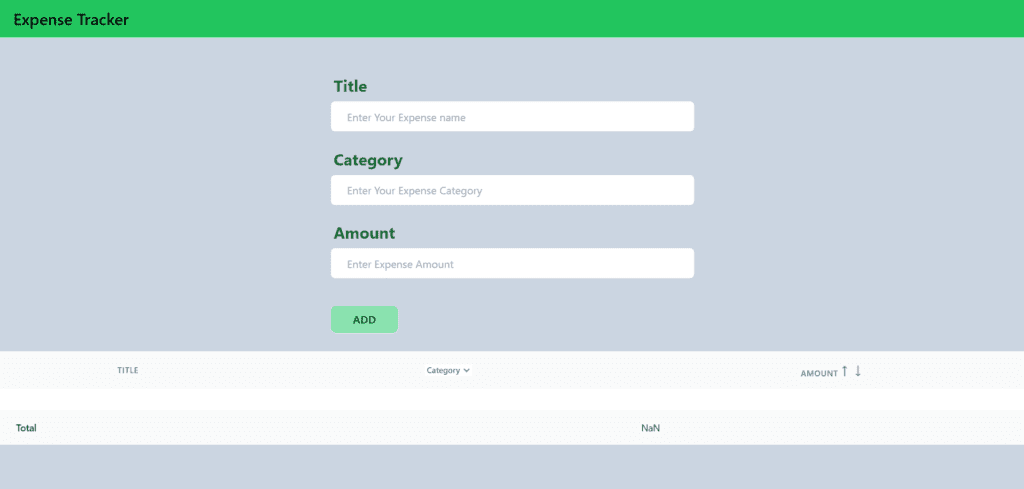
The heart of your application lies in the ExpenseTable component, where a responsive and dynamic table displays the user’s expenses. Users can effortlessly filter expenses by category, sort them based on amount in ascending or descending order, and observe the total amount dynamically updating as per the filtered results. The context menu further streamlines expense management, allowing users to perform quick actions without navigating away from the table.
Explanation :
AddForm.jsx :
- State:
formData: Holds the data for the expense form.error: Keeps track of form validation errors.
- Functions:
validateError: Validates the form data and sets error messages if necessary.submitHandler: Handles form submission, updates existing expenses, or adds new ones.handleInputChange: Updates form data on input change.
- Effect:
useEffect: Saves the expenses in local storage whenever there’s a change in theexpensestate.
Structure:
- The component renders a form with input fields for title, category, and amount.
InputControlis a custom component rendering an input field with label and error handling.
JavaScript Logic:
- Validates the form data to ensure required fields are filled.
- Modifies existing expenses or adds new ones based on user input.
- Updates local storage with the latest expenses.
Purpose of Functions:
validateError: Checks for missing fields and updates theerrorstate accordingly.submitHandler: Handles form submission, either updating existing expenses or adding new ones.handleInputChange: Updates theformDatastate on input change.
ContextMenu.jsx
- Functions:
deleteHandler: Deletes the selected expense.editHandler: Populates the form with the selected expense data for editing.
Structure:
- Renders a context menu with “Edit” and “Delete” options.
JavaScript Logic:
- Handles the delete and edit functionalities for an expense.
Purpose of Functions:
deleteHandler: Deletes the selected expense.editHandler: Populates the form with the selected expense data for editing.
ExpenseTable.jsx
State:
filterdata: Stores the filtered expenses based on category selection.contextPosition: Keeps track of the position for displaying the context menu.
Functions:
filterByCategory: Filters expenses based on the selected category.contextHandler: Handles right-click context menu display.sortHandler: Sorts expenses based on the selected sorting option.
Effect:
useEffect: Updates the filtered expenses whenever there’s a change in theexpensestate.
Structure:
- Renders a table with columns for title, category, amount, and a dropdown for category filtering.
- Utilizes the
ContextMenucomponent for right-click options. - Allows sorting by amount in ascending or descending order.
JavaScript Logic:
- Filters and displays expenses based on the selected category.
- Calculates and displays the total amount of filtered expenses.
- Handles right-click context menu display for editing or deleting expenses.
- Allows sorting of expenses based on the amount.
Purpose of Functions:
filterByCategory: Filters expenses based on the selected category.contextHandler: Handles the display of the context menu on right-click.sortHandler: Sorts expenses based on the selected sorting option.
Instructions to run this project :
Step 01 : Download the zip file of source code (given below) and extract it.
Step 02 : Navigate to the Project Directory:
- Once the repository is cloned, navigate into the project directory using the
cdcommand: cd <project_directory> - Replace
<project_directory>with the name of the directory where the project was cloned.
Step 03 : Install Dependencies:
- Inside the project directory, run the following command to install project dependencies using Yarn : yarn install
- This command will read the
package.jsonfile and install all required dependencies listed in it.
Step 04 : Run the Project:
- After installing dependencies, you can start the development server using the following command: yarn start
- This command will start the development server and automatically open the project in your default web browser.
- Once the development server is up and running, you can access the project by opening your web browser and navigating to the specified address (usually
http://localhost:3000). - You can now explore the e-commerce app, navigate through different pages, interact with components, and experience the functionality firsthand.
Get Discount on Top Educational Courses
Source Code :
Output :
Find More Projects

URL Shortener Using Python Django Introduction: Long URLs can be shortened into short, shareable links with the help of the URL Shortener …

User Authentication System Using Python Django Introduction: The implementation of safe and adaptable user authentication in Django is the main goal of …

The E-Learning System using Java with a Graphical User Interface (GUI) Introduction The E-Learning System is developed using Java (with a Graphical …

Weather App Using Python Django Introduction: When a user enters the name of a city, the Weather App retrieves current weather information. …

Quiz App Using Python Django Introduction: Users can take quizzes in a variety of subjects, see their results, and monitor their progress …

resume screener in python using python introduction The hiring process often begins with reviewing numerous resumes to filter out the most suitable …
More HTML CSS JS Projects

Get Huge Discounts
