Amazing Love Puzzle Using HTML , CSS And JavaScript With Source Code
Introduction :
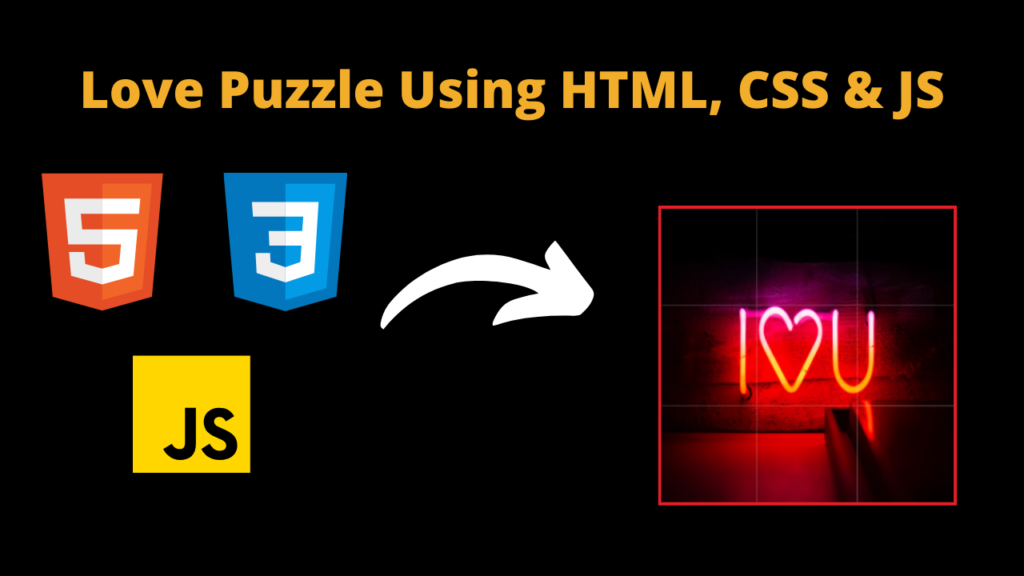
All of you developer friends are welcome to this new blog post. Today we have created a wonderful love puzzle which is very superhit. Friends, to create this love puzzle, we have created it with the help of pure JavaScript and HTML CSS. In this love puzzle, you can find someone. You can also insert images, that is, you can edit the image very easily.
Friends, whatever image you put in this love puzzle, that image gets divided into different pieces, then you have to solve that image in the right way.
This has to be done if you do not arrange the images with each other correctly and if you arrange the images but in the wrong way then you will not be able to solve the puzzle.
setTimeout(function() {
reloadPuzzle();
randomizeImage();
}, 1500);
Friends, the interesting thing about this puzzle is that if the user solves the puzzle correctly, then the puzzle automatically returns to its previous state, which you can see in the code given above.
Steps to Create Love Puzzle:-
Friends, we have divided the code of love puzzle into three parts, one is code index.html which will be used to create the structure of love puzzle, second is style.css in which love has been designed and the last file is script.js in this file the puzzle will be completely written. It will be made live so that the puzzle works and the user can enjoy it. Friends, these three files are very important, if you make the code wrong then your love puzzle will not work.
- First of all, create a folder in the computer which can be named Love Puzzle.
- Now open the created Love Puzzle folder in vs code. If you use any other code editor then open the folder in that.
- Now the code given below has to be uploaded in that file according to the name of the file.
Now use the following tags to link the files to each other. 👇👇
Friends, this tag is for linking the style.css file with the HTML file.
<link rel=”stylesheet” href=”style.css” />
Friends, this tag is for linking JavaScript, with the help of which you will be able to link the js file with HTML.
<script src=”main.js”></script>
HTML (index.html)
  <title>Document</title>


  <div id='puz_box'>
    <div id='puz'>
      <i class='first'></i>
      <i class='secon'></i>
      <i class='third'></i>
      <i class='fourt'></i>
      <i class='fifth'></i>
      <i class='sixth'></i>
      <i class='seven'></i>
      <i class='eight'></i>
      <i class='ninth'></i>
    </div>
    <div id='puzz'>
      <i class='third'></i>
      <i class='first'></i>
      <i class='secon'></i>
      <i class='fourt'></i>
      <i class='fifth'></i>
      <i class='sixth'></i>
      <i class='seven'></i>
      <i class='eight'></i>
      <i class='ninth'></i>
    </div>
  </div>
  <div id='clicks'>0</div>
CSS (Style.css)
					:root {
  --color: lightgray;
  --border-radius: 10px;
}

body {
  background: #efefef;
  padding: 0;
  margin: 0;
  box-sizing: border-box;
}

#puz,
#puzz {
  position: absolute;
  border-radius: var(--border-radius) 0 var(--border-radius) 0;
  user-select: none;
}

#puz {
  width: 300px;
  height: 300px;
  position: absolute;
  top: 50%;
  left: 50%;
  transform: translate(-50%, -50%);
  border: 3px dashed lightgray;
  overflow: hidden;
}

#puzz {
  left: 0;
  top: 0;
  border: 0;
}

#puz i {
  float: left;
  width: 100px;
  height: 100px;
  outline: 1px dashed lightgray;
}

#puzz i {
  position: absolute;
  width: 100px;
  height: 100px;
  background: var(--color);
  background-image: var(--image);
  background-size: 300px 300px;
  cursor: move;
  box-shadow: 0 0 10px rgba(0, 0, 0, .25);
}

.first {
  border-top-left-radius: var(--border-radius);
  background-position: left top !important;
}

.secon {
  background-position: center top !important;
}

.third {
  /*   border-top-right-radius:var(--border-radius); */
  background-position: right top !important;
}

.fourt {
  background-position: left center !important;
}

.fifth {
  background-position: center center !important;
}

.sixth {
  background-position: right center !important;
}

.seven {
  /*   border-bottom-left-radius:var(--border-radius); */
  background-position: left bottom !important;
}

.eight {
  background-position: center bottom !important;
}

.ninth {
  border-bottom-right-radius: var(--border-radius);
  background-position: right bottom !important;
}

.clicked {
  box-shadow: 0 0 0 4px gray !important;
}

.dropped {
  background: var(--color);
  background-image: var(--image);
  background-size: 300px 300px;
}

.done {
  opacity: 0;
  pointer-events: none;
}

.allDone {
  animation: allDone 1s linear forwards;
  border: 3px solid lightgray !important;
}

.allDone i {
  outline: 0 !important;
}

@keyframes allDone {
  50% {
    transform: translate(-50%, -50%) scale(1.2);
  }
}

#clicks {
  font-size: 8px;
  font-family: monospace;
  position: absolute;
  bottom: 5px;
  right: 5px;
}
Javascript (Script.js)
					var images = ['https://images.unsplash.com/photo-1610624764045-5255643109c6?q=80&w=1470&auto=format&fit=crop&ixlib=rb-4.0.3&ixid=M3wxMjA3fDB8MHxwaG90by1wYWdlfHx8fGVufDB8fHx8fA%3D%3D'];

var currentIndex = 0;
var totalClicks = 0;

function randomizeImage() {
  let root = document.documentElement;
  root.style.setProperty('--image', 'url(' + images[currentIndex] + ')');
  currentIndex++;
  if (currentIndex >= images.length) {
    currentIndex = 0;
  }
  var puzzleItems = document.querySelectorAll('#puzz i');
  for (var i = 0; i < puzzleItems.length; i++) {
    puzzleItems[i].style.left = Math.random() * (window.innerWidth - 100) + 'px';
    puzzleItems[i].style.top = Math.random() * (window.innerHeight - 100) + 'px';
  }
}

randomizeImage();

function reloadPuzzle() {
  var doneItems = document.querySelectorAll('.done');
  doneItems.forEach(function (element) {
    element.classList.toggle('done');
  });
  var droppedItems = document.querySelectorAll('.dropped');
  droppedItems.forEach(function (element) {
    element.classList.toggle('dropped');
  });
  var allDoneElement = document.querySelector('.allDone');
  allDoneElement.style = '';
  allDoneElement.classList.toggle('allDone');
}

// mobile functionality
var puzzleItemsMobile = document.querySelectorAll('#puzz i');
puzzleItemsMobile.forEach(function (element) {
  element.addEventListener('mousedown', function () {
    totalClicks++;
    document.querySelector('#clicks').innerHTML = totalClicks;
  });
  element.addEventListener('click', function () {
    if (document.querySelector('.clicked')) {
      document.querySelector('.clicked').classList.toggle('clicked');
      element.classList.toggle('clicked');
    } else {
      element.classList.toggle('clicked');
    }
  });
});

var puzzleItemsDesktop = document.querySelectorAll('#puz i');
puzzleItemsDesktop.forEach(function (element) {
  element.addEventListener('click', function () {
    if (document.querySelector('.clicked')) {
      var clickedElement = document.querySelector('.clicked');
      if (clickedElement.classList.contains(element.classList)) {
        element.classList.add('dropped');
        clickedElement.classList.add('done');
        clickedElement.classList.toggle('clicked');

        if (document.querySelectorAll('.dropped').length == 9) {
          document.querySelector('#puz').classList.add('allDone');
          document.querySelector('#puz').style.border = 'none';
          document.querySelector('#puz').style.animation = 'allDone 1s linear forwards';

          setTimeout(function () {
            reloadPuzzle();
            randomizeImage();
          }, 1500);
        }
      }
    }
  });
});

// desktop drag and drop
function allowDrop(ev) {
  ev.preventDefault();
}

function drag(ev) {
  ev.dataTransfer.setData("text", ev.target.className);
}

function drop(ev) {
  ev.preventDefault();
  var data = ev.dataTransfer.getData("text");

  if (ev.target.className == data) {
    ev.target.classList.add('dropped');
    document.querySelector('.' + data + "[draggable='true']").classList.add('done');

    if (document.querySelectorAll('.dropped').length == 9) {
      document.querySelector('#puz').classList.add('allDone');
      document.querySelector('#puz').style.border = 'none';
      document.querySelector('#puz').style.animation = 'allDone 1s linear forwards';

      setTimeout(function () {
        reloadPuzzle();
        randomizeImage();
      }, 1500);
    }
  }
}
Build a Quiz Game Using HTML CSS and JavaScript Introduction Hello coders, you might have played various games, but were you aware …
Emoji Catcher Game Using HTML CSS and JavaScript Introduction Hello Coders, Welcome to another new blog. In this article we’ve made a …
Typing Challenge Using HTML CSS and JavaScript Introduction Hello friends, all you developer friends are welcome to our new project. If you …
Breakout Game Using HTML CSS and JavaScript With Source Code Introduction Hello friends, welcome to today’s new blog post. All of you …


