
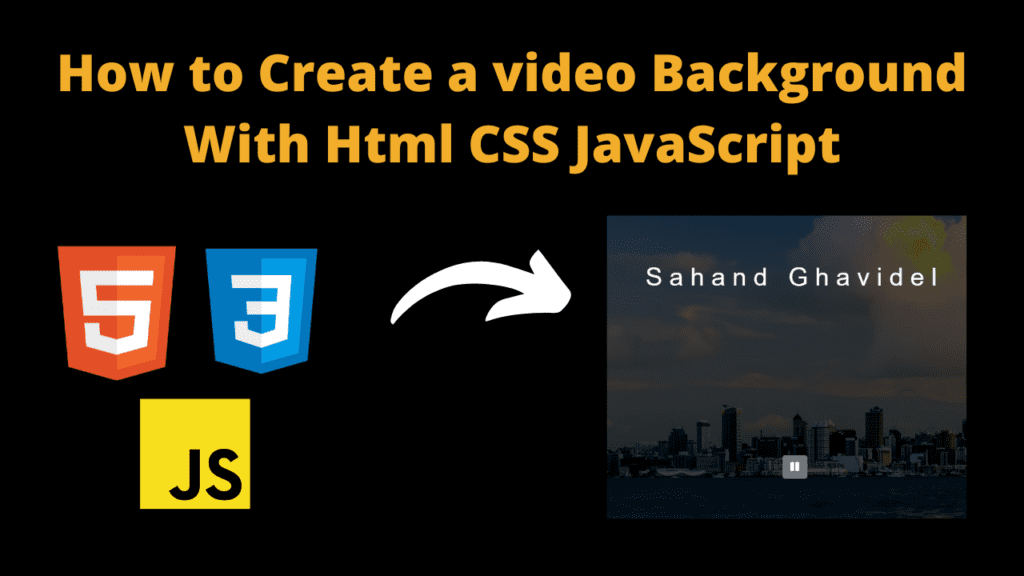
how to create a video background with html CSS JavaScript
Introduction
Hello friends, you all are welcome to today’s new blog post. Today we have created a beginner project for you which is very amazing. This project is a landing page with background video which many people do not know how to use it. So today we have created it for you using html css and javascript. Creating it is quite easy and you will also need a video to make it. We have created a landing page in it, in which we have added a video in the background which we have set on autoplay and have also used some heading text and the best The thing is that we have also added a pause button in it, with the help of which user can also pause the video, which is quite amazing and it looks quite attractive too. We have made it in a quite normal and basic simple design, but you can design it even better if you have knowledge of CSS because we have kept this project at beginners level, so that anyone can use this project. So let’s go now, let us understand our code step by step.
HTML (index.html)
Get Discount on Top Educational Courses
To create the project, first of all we have to create a structure with the help of HTML code, which is going to be quite easy, in which we are going to add things like our video and text. The most important thing is our video because without it our project is useless, so let’s understand the HTML code.
- <!DCOTYPE html> First of all this is an important code of html from which we come to know that this code is of html
- <html lang=”en”>With the help of this HTML element we can set our language
- <head> This is our head tag in which we can add links etc.
- <title>codemastergoutam</title> This is our title tag in which we can add our title, you can add anything
- It is very important to link the css file to the html otherwise you will not be able to design your page, so you can do something like this <link rel=”stylesheet” href=”styles.css”>
- <div class=”perloader”> Firstly we have created a div in which we have added the gif <ing class=”perloader.gif” alt=”perloader”>
- <Header> Then we have created a header section in which we have added our heading and video
- We have added the video in such a way that you have to add the file path of your video <video class=”background-video” muted autoplay loop src=”background-video.mp4″></video>
- Then I have also added the heading in my landing page <h1>gautam prajapat</h1>
- We have also created a button to pause the video in our page which looks like this <button class=”button button-secondary”>
- We have added an icon to the button which is a pause icon <i class=”fa fa-pause” aria-hidden=”true”></i>
    <title>codemastergoutam</title>


    <div class="preloader">
        <img data-lazyloaded="1" src="data:image/gif;base64,R0lGODdhAQABAPAAAMPDwwAAACwAAAAAAQABAAACAkQBADs=" decoding="async" data-src="preloader.gif" alt="preloader">
    </div>
   <Header>
       <video class="background-video" muted autoplay loop src="background-video.mp4"></video>
       <h1>goutam prajapat</h1>
       <button class="btn btn-secondary">
        <i class="fa fa-pause" aria-hidden="true"></i>
       </button>
   </Header>
CSS (Style.css)
Now we are going to design our project using CSS code which will make our project look good and attractive, using CSS is very simple so let us see how we have done it.
- Firstly we have used this font in body font-family: sans-only; and margin padding is kept 0px
- We have used heading in landing page whose font size is font-size: 2.5rem; and color is white
- In heading we have kept letter space letter-spacing: 0.277em; and with this we have made the font bold
- We have used this position in the background video position: absolute; also placed 0 on top and left and in this we have added z-index z-index: -1;
- In the video we have set object-fit: cover; and width-height to 100%. We have added filter: brightness(30%);
- In placeholder we have kept the position fixed position: fixed; and background color white. In this we have used display: grid; and centered the content.
					body {
  margin: 0;
  padding: 0;
  font-family: sans-serif;
}

h1 {
  font-size: 2.5rem;
  color: white;
  letter-spacing: 0.277em;
  font-weight: bold;
}

.background-video {
  position: absolute;
  top: 0;
  left: 0;
  z-index: -1;
  width: 100%;
  height: 100%;
  object-fit: cover;
  filter: brightness(30%);
}

header {
  min-height: 100vh;
  display: grid;
  place-items: center;
}

.preloader {
  position: fixed;
  top: 0;
  left: 0;
  right: 0;
  bottom: 0;
  background: white;
  display: grid;
  justify-content: center;
  align-items: center;
  z-index: 999;
  transition: 0.1s linear;
}
Javascript (Script.js)
Friends now we are going to activate the pause button of our project with the help of Javascript. When a user clicks on the button, the video should stop and on returning the video should start playing. All this work will be done with the help of Javascript. If you do not have knowledge of Javascript then it does not matter because we are going to understand our code step by step, how a function is created and how it is connected to HTML.
- cust button = document.querySelector(“.button”); Firstly we have linked our HTML button with javascript
- Just like we added the button in the JavaScript, in the same way we have linked the video also. const video = document.querySelector(“.background-video”);
- After this we have created an eventlistener in JavaScript which is like this button.addEventListener(“click”, () => {
- if (btn.classList.contains(“pause”)) {Then we have created a last event in which the video will load window.addEventListener(“load”, () => {
					const btn = document.querySelector(".btn");
const video = document.querySelector(".background-video");
const fa = document.querySelector(".fa");
const preloader = document.querySelector(".preloader");

btn.addEventListener("click", () => {
  if (btn.classList.contains("pause")) {
    btn.classList.remove("pause");
    video.play();
    fa.classList.add("fa-pause");
    fa.classList.remove("fa-play");
  } else {
    btn.classList.add("pause");
    video.pause();
    fa.classList.remove("fa-pause");
    fa.classList.add("fa-play");
  }
});

window.addEventListener("load", () => {
  preloader.style.zIndex = "-999";
});
Output:

Disclaimer: The code provided in this post is sourced from GitHub and is distributed under the MIT License. All credits for the original code go to the respective owner. We have shared this code for educational purposes only. Please refer to the original repository for detailed information and any additional usage rights or restrictions.
Top 5 Data Science Courses to Build a Strong Career in 2026 Data science is no longer limited to tech companies. Banks …
Free Things You Get With Your College ID 🎓 Free / Discounted Platforms with College ID Platform What You Get (Student Benefits) …
25 Best Free Great Learning Courses for CSE Students (With Certificates) – Start Learning Today! If you’re a CSE student, engineering fresher, …

Why Target Test Prep Is the Best GMAT/GRE Prep Platform in 2025? Preparing for the GMAT or GRE has changed drastically in …
Get Huge Discounts

More Python Projects
