
Auto Text Effect Animation Using Html CSS & JavaScript
Introduction
Hello friends, welcome to today’s new blog post. Today we have created a beautiful project for you which is absolutely beginner friendly. If you use it for practice, your coding skills will improve. This project is an auto text effect animation in which automatic text typing takes place which looks amazing. It is quite easy to make it. If you are learning coding, you can make it very easily. In this, we have added different texts which change automatically and if you add this type of typing effect to your website, your website will look much better. To make this we have used html css and javascript. First of all we have created the structure with the help of html, later we have designed that structure with the help of css and then at last we have activated this effect i.e. made it alive with the help of javascript. So let’s go now let us understand the code step by step.
HTML (index.html)
Get Discount on Top Educational Courses
As I told you there are total three steps in this, html css and javascript of which this is the first step. I have written very little code of html because all the work is based on javascript. I have added text with html and added some links, so let’s now understand the code of html.
- <!DOCTYPE> this is the most important element of HTMl from this we come to know that this code is HTMl code
- <html lang=”en”>With its help you can set the language of your code, by default it is English
- <head> contains the header tag of HTML which is very important. It also has a closing tag. </head> We can add a link etc. between the open and close tags.
- <title>Auto Text Effect Animation Codemastergoutam</title> This is the title tag of HTML in which we can add the title as per our choice
- <link rel=”stylesheet” href=”style.css” /> This is a link tag using which we can connect the CSS file to the HTML file
- To create the typing effect, we have created a container in which our typing text will be shown <div class=”container”></div>
- <script src=”index.js”></script> This is the most important tag which we call script tag. With its help we can connect the javascript file to html.
    <title>Auto Text Effect Animation</title>


    <div class="container"></div>
CSS (Style.css)
Friends, now we have created the structure with the help of HTML, but to design it we will have to use CSS, like color background etc. Using CSS is quite easy. If you have even a little knowledge, you can create a very good project with the help of CSS. We have only created the typing effect, so there is no need of much CSS code in it. Therefore, we have used very little code, so let’s understand the CSS code.
- First of all we have set margin: 0; in the body so that any empty space will be gone
- After this we have set display: flex; so that all the content gets flexed. After this we have set justify-content: center; so that the content gets centered.
We have kept the height of the project as full Height: 100 cm; you can increase or decrease it
- align-items: center; so that the text is centered and for background we have used this color background-color: salmon;
- We have added the font for the body text as follows: font-family: “Permanent Marker”, Kursiwe; you can use any other font as well
					@import url("https://fonts.googleapis.com/css2?family=Permanent+Marker&display=swap");

body {
  margin: 0;
  display: flex;
  justify-content: center;
  height: 100vh;
  align-items: center;
  background-color: salmon;
  font-family: "Permanent Marker", cursive;
}
Javascript (Script.js)
Friends, now we have made the structure and design of our project well with the help of HTML CSS, but to make it lively we will have to take the help of Javascript code, without Javascript our code will not work, if you have knowledge of Javascript then it is no big deal because we are going to understand the code, so we should understand the code step by step.
- First we have created our document with the help of const. constContainer = document.querySelector(“.container”);
- We have added some text in auto text typing which is like this custom careers = [“Youtuber”, “Web Developer”, “Freelancer”, “Instructor”];
- Using JavaScript, we have created a function that will update the text: updatetext();
- Friends, we have also added some text before the keyword which is like this sparkler <h1>I am ${careers[careerIndex].slice(0, 1) === “I” ? “an” : “a”} ${careers[
- We have also set the speed of text update, which is like this, you can set it as per your requirement setTimeout(updatetext, 400);
Friends, this was some important code of our javascript which I have explained to you. If you want to change the text, you can also edit it. Writing javascript code is a very easy task. You just need a little practice.
					const searchBarContainerEl = document.querySelector(".search-bar-container");

const magnifierEl = document.querySelector(".magnifier");

magnifierEl.addEventListener("click", () => {
  searchBarContainerEl.classList.toggle("active");
});
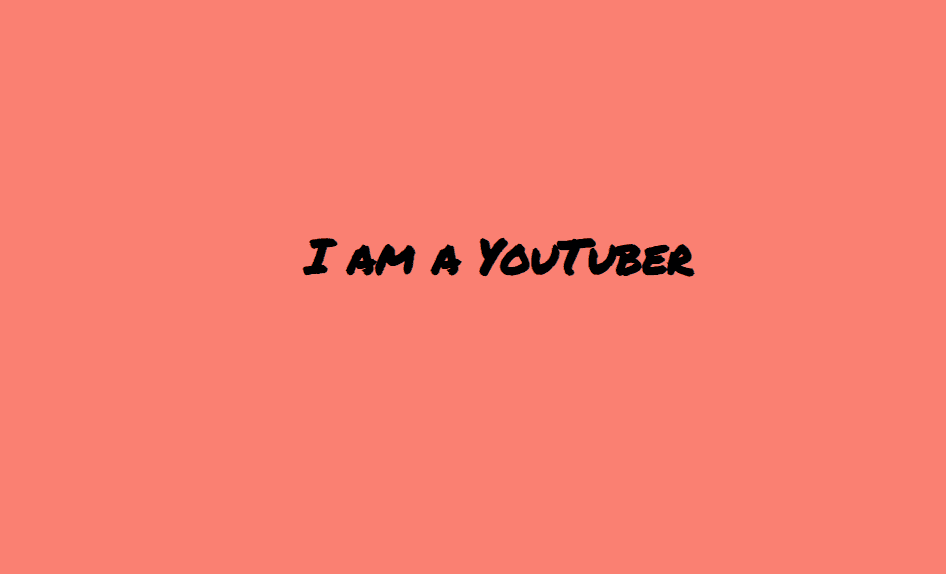
Output:
Disclaimer: The code provided in this post is sourced from GitHub and is distributed under the MIT License. All credits for the original code go to the respective owner. We have shared this code for educational purposes only. Please refer to the original repository for detailed information and any additional usage rights or restrictions.
Top 5 Data Science Courses to Build a Strong Career in 2026 Data science is no longer limited to tech companies. Banks …
Free Things You Get With Your College ID 🎓 Free / Discounted Platforms with College ID Platform What You Get (Student Benefits) …
25 Best Free Great Learning Courses for CSE Students (With Certificates) – Start Learning Today! If you’re a CSE student, engineering fresher, …

Why Target Test Prep Is the Best GMAT/GRE Prep Platform in 2025? Preparing for the GMAT or GRE has changed drastically in …
Get Huge Discounts

More Python Projects
