Pharmacy Management System Using Python Django

Introduction
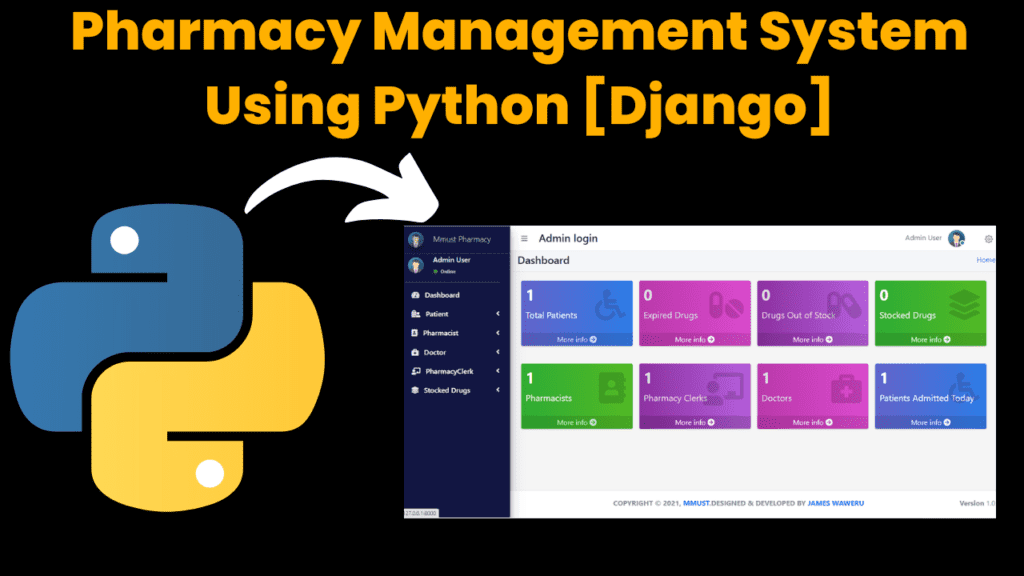
The Pharmacy Dispensing Management System is a robust and user-friendly software solution developed using Python and the Django framework. It is designed to streamline the workflows in a pharmacy setting by facilitating the management of patients, prescriptions, medications, and administrative tasks. The system serves multiple user roles, including Administrator, Pharmacist, Doctor, Receptionist (Pharmacy Clerk), and Patient, each with distinct functionalities tailored to their responsibilities.
This project aims to address inefficiencies in manual pharmacy operations, such as tracking stock levels, dispensing errors, and managing patient data. With its intuitive interface and comprehensive features, it simplifies day-to-day operations, ensuring that medications are dispensed accurately and efficiently.
Key Features:
Administrator: Manage admissions, users, prescriptions, drug categories, stocks, and personal accounts.
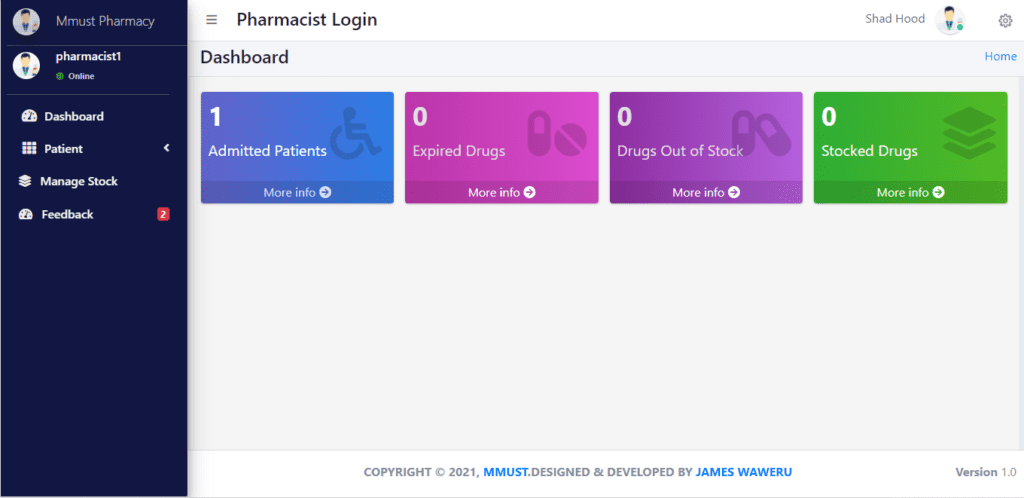
Pharmacist: Handle drug inventory, stocks, dispensing drugs, and patient feedback.
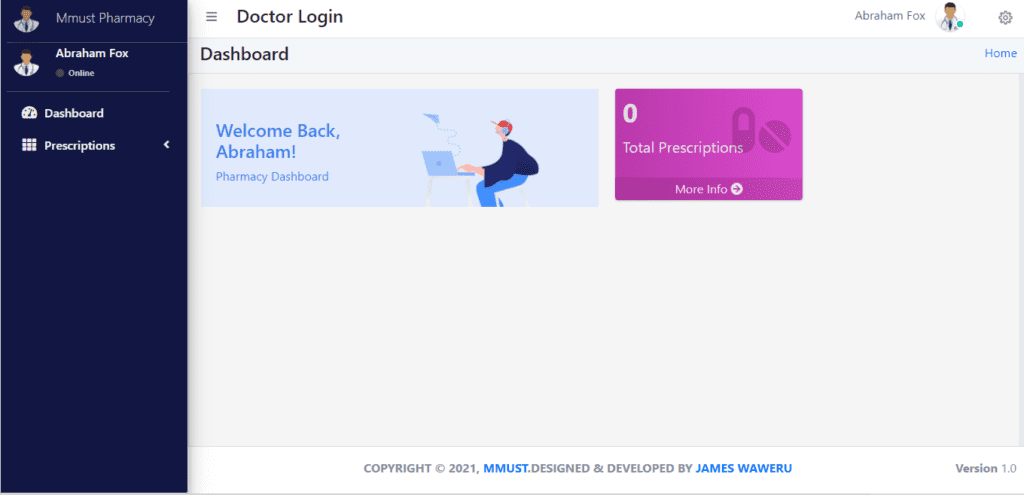
Doctor: Create and manage patient prescriptions.
Receptionist: Manage patient admissions and their personal account details.
Patient: View prescribed medications, provide feedback on pharmacy services, and manage personal accounts.
The system ensures seamless communication among different users and integrates all pharmacy-related operations into a single platform. Its user-friendly design allows both technical and non-technical users to navigate and perform their tasks effectively.
How to Run the Code
To get the Pharmacy Dispensing Management System running on your local machine, follow these steps:
Prerequisites:
Ensure you have Python and pip installed on your system. Install Django and other dependencies from the requirements.txt file.
Steps:
Clone or download the project: Extract the project files into a directory on your system.
Navigate to the project directory:
cd pharmacy-management-system-masterInstall required dependencies: Use the following command to install all required Python libraries:
pip install -r requirements.txtApply migrations to set up the database: Initialize the SQLite database by running:
python manage.py migrateRun the development server: Start the Django server with the command:
python manage.py runserverAccess the application: Open your web browser and navigate to
http://127.0.0.1:8000/to interact with the system.
Default Login Credentials:
Administrator:
Username:
adminPassword:
1234
Pharmacist:
Username:
pharmacist1Password:
1234
Doctor:
Username:
doctor1Password:
1234
Receptionist:
Username:
pharmacyclerk1Password:
1234
Patient:
Username:
patient1Password:
1234
Code Explanation
The project is built on the Django framework, which follows the Model-View-Controller (MVC) architecture. Let’s explore some key components of the code:
1. User Roles and Authentication:
Each user role is managed with Django’s built-in authentication system. The roles include specific permissions and access levels.
from django.contrib.auth.models import AbstractUser

class CustomUser(AbstractUser):
    role = models.CharField(max_length=20, choices=[
        ('Administrator', 'Administrator'),
        ('Pharmacist', 'Pharmacist'),
        ('Doctor', 'Doctor'),
        ('Receptionist', 'Receptionist'),
        ('Patient', 'Patient'),
    ])
This CustomUser model extends Django’s default user model to include a role field, which defines the type of user.
2. Managing Medications:
Administrators and pharmacists can add and manage drug inventories. Below is a snippet for managing drugs:
class Drug(models.Model):
    name = models.CharField(max_length=100)
    category = models.ForeignKey(DrugCategory, on_delete=models.CASCADE)
    quantity = models.IntegerField()
    price = models.FloatField()

    def __str__(self):
        return self.name
This model defines the drug details, including its name, category, quantity, and price.
3. Prescription Management:
Doctors can create prescriptions for patients. Pharmacists can view and dispense medications based on these prescriptions.
class Prescription(models.Model):
    patient = models.ForeignKey(CustomUser, on_delete=models.CASCADE, limit_choices_to={'role': 'Patient'})
    doctor = models.ForeignKey(CustomUser, on_delete=models.CASCADE, limit_choices_to={'role': 'Doctor'})
    date = models.DateField(auto_now_add=True)

    def __str__(self):
        return f"Prescription for {self.patient.username} by Dr. {self.doctor.username}"
The prescription model links patients to their doctors and includes a timestamp for tracking.
4. Dispensing Medications:
Pharmacists dispense medications and update stock levels accordingly.
class Dispense(models.Model):
    prescription = models.ForeignKey(Prescription, on_delete=models.CASCADE)
    drug = models.ForeignKey(Drug, on_delete=models.CASCADE)
    quantity = models.IntegerField()

    def save(self, *args, **kwargs):
        # Update stock quantity
        self.drug.quantity -= self.quantity
        self.drug.save()
        super().save(*args, **kwargs)
The Dispense model ensures that stock levels are automatically updated whenever a medication is dispensed.
Get Discount on Top Educational Courses
Source Code:
Output:


More Projects:

URL Shortener Using Python Django
URL Shortener Using Python Django Introduction: Long URLs can be shortened into short, shareable links with the help of the URL Shortener project. Though it

User Authentication System Using Python Django
User Authentication System Using Python Django Introduction: The implementation of safe and adaptable user authentication in Django is the main goal of this project. It

E-Learning System Using JAVA
The E-Learning System using Java with a Graphical User Interface (GUI) Introduction The E-Learning System is developed using Java (with a Graphical User interface through

Weather App Using Python Django with Source Code
Weather App Using Python Django Introduction: When a user enters the name of a city, the Weather App retrieves current weather information. It provides temperature,

Quiz App Using Python Django with complete source code
Quiz App Using Python Django Introduction: Users can take quizzes in a variety of subjects, see their results, and monitor their progress with the Django

Resume Screener in python using GUI
resume screener in python using python introduction The hiring process often begins with reviewing numerous resumes to filter out the most suitable candidates for a


