
GUI alarm Clock Using Python With Source Code
Introduction:
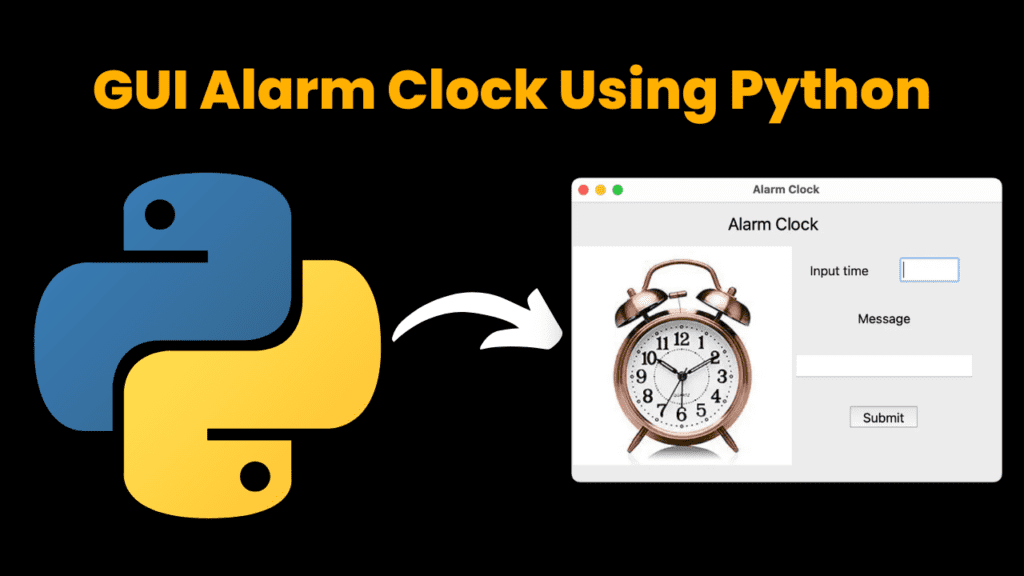
In this project, a GUI alarm clock has been created with help of the “Tkinter” module. Tkinter is a standard GUI library for python. With the help of this module, we have created a simple GUI interface for setting the alarm details. As per the requirement, the alarm clock’s functionality will be executed.
Explanation:
For making this project we need to follow these steps:
- Creating a GUI interface
- Setting the label and entry widget
- Setting the functionality of an alarm clock
The very first step to executing the above-mentioned thing is to import all the necessary libraries. For the latest version, the Tkinter module comes under the future module. So firstly we have to install a future module with the help of the command “pip install <module-name>”. The future module is a built-in module in Python that is used to inherit new features that will be available in the new Python versions. With “future. moves” we will import the Tkinter module.
Source Code:
Get Discount on Top Educational Courses
					# Importing the libraries
import tkinter
import tkinter as Tk
import datetime
import time
from pygame import mixer
from tkinter import messagebox

# Initializing the mixer
mixer.init()

# Creating the window
root = tkinter.Tk()
root.title("Alarm Clock")
root.geometry("550x330")

# variable to manage value of the widget
alarmtime = tkinter.StringVar()
message = tkinter.StringVar()

# Label widget
head = tkinter.Label(root, text="Alarm Clock", font=('comic sans', 20))
head.grid(row=0, columnspan=3, pady=10)


# Alarm functionality
def alarm():
    a = alarmtime.get()

    # getting the current time
    alarm_t = a
    Current_Time = time.strftime("%H:%M")

    # Changing the Current time
    while alarm_t != Current_Time:
        Current_Time = time.strftime("%H:%M")

    # Play alarm sound
    if alarm_t == Current_Time:
        mixer.music.load("sound.wav")
        mixer.music.play()
        msg = messagebox.showinfo('Info', f'{message.get()}')
        if msg == 'ok':
            mixer.stop()


# To display clock Image
clockimg = tkinter.PhotoImage(file="img_61.png")

# Label widget for image
img = tkinter.Label(root, image=clockimg)
img.grid(rowspan=5, column=0)

# Label widget for time input
input_time = tkinter.Label(root, text="Input time", font=('comic sans', 15))
input_time.grid(row=1, column=1)

# Entry widget
altime = tkinter.Entry(root, textvariable=alarmtime, font=('comic sans', 15), width=6)
altime.grid(row=1, column=2)

# Label widget for message
msg = tkinter.Label(root, text="Message", font=('comic sans', 15))
msg.grid(row=2, column=1, columnspan=2)

# Entry widget
msg_input = tkinter.Entry(root, textvariable=message, font=('comic sans', 15))
msg_input.grid(row=3, column=1, columnspan=2)

# Button widget
submit = tkinter.Button(root, text="Submit", font=('comic sans', 15))
submit.grid(row=4, column=1, columnspan=2)

# Event loop
root.mainloop()
# Importing the libraries
import tkinter
import tkinter as Tk
import datetime
import time
from pygame import mixer
from tkinter import messagebox

# Initializing the mixer
mixer.init()

# Creating the window
root = tkinter.Tk()
root.title("Alarm Clock")
root.geometry("550x330")

# variable to manage value of the widget
alarmtime = tkinter.StringVar()
message = tkinter.StringVar()

# Label widget
head = tkinter.Label(root, text="Alarm Clock", font=('comic sans', 20))
head.grid(row=0, columnspan=3, pady=10)


# Alarm functionality
def alarm():
    a = alarmtime.get()

    # getting the current time
    alarm_t = a
    Current_Time = time.strftime("%H:%M")

    # Changing the Current time
    while alarm_t != Current_Time:
        Current_Time = time.strftime("%H:%M")

    # Play alarm sound
    if alarm_t == Current_Time:
        mixer.music.load("sound.wav")
        mixer.music.play()
        msg = messagebox.showinfo('Info', f'{message.get()}')
        if msg == 'ok':
            mixer.stop()


# To display clock Image
clockimg = tkinter.PhotoImage(file="img_61.png")

# Label widget for image
img = tkinter.Label(root, image=clockimg)
img.grid(rowspan=5, column=0)

# Label widget for time input
input_time = tkinter.Label(root, text="Input time", font=('comic sans', 15))
input_time.grid(row=1, column=1)

# Entry widget
altime = tkinter.Entry(root, textvariable=alarmtime, font=('comic sans', 15), width=6)
altime.grid(row=1, column=2)

# Label widget for message
msg = tkinter.Label(root, text="Message", font=('comic sans', 15))
msg.grid(row=2, column=1, columnspan=2)

# Entry widget
msg_input = tkinter.Entry(root, textvariable=message, font=('comic sans', 15))
msg_input.grid(row=3, column=1, columnspan=2)

# Button widget
submit = tkinter.Button(root, text="Submit", font=('comic sans', 15))
submit.grid(row=4, column=1, columnspan=2)

# Event loop
root.mainloop()
Click Here to Download the Source Code folder
Now, we will need a module for our project which will handle the timings, and for that, we will import a module named “datetime” in Python and “time” as well.
The next major part of this project is to play a sound according to the time user has mentioned and also to display a message with that for that we have to import “mixer” from “pygame” and “messagebox” from “tkinter” respectively.
To create a Tkinter application, we have to create an object of the Tkinter frame with the help of “.Tk()”. It helps to display the root window and manages the components of the Tkinter application. To set the title and geometry of the window we have used the “.title” & “.geometry” functions
→ In the next step, we want to create a variable to manage the widget. The widget is an element of the Graphical User Interface (GUI) that displays/illustrates information or gives a way for the user to interact with the OS. With the help of “.StringVar()” we have created the variables.
→ In the next step, we have created a Label widget which is used to display a text or image on the screen. For setting the Name “Alarm Clock” we have created this one. The syntax for this is “tkinter. Label(window, text(the text you want to display), font(font name, size))”. For displaying the widget on the screen we need a method named “grid()”, thus to display that name we have used it and the grid() geometry manager puts the widget in a 2-D table. It takes the argument row, column, rowspan, and columnspan. The rowspan and columnspan basically merge the rows and columns accordingly.
Now, before talking about the functionality, let’s create a proper GUI interface for the project.
→ First of all, we will display the image of our alarm clock with the help of “.PhotoImage()”. In this method, we will pass the file name under the file parameter. To display that image we will make a Label widget for the same and also with the help of .grid().
→ Now the next step is for getting time from the user and for that again we will create a space for the one, it will get possible by creating a label widget. To make the user enter the time we will create an Entry widget. The purpose of the entry widget is to let the user see and modify a single line of text. The syntax for this is “tkinter.Entry( window, textvariable(the variable that you have created to manage the widget), font(font name,size))”
→ For the message with the alarm, we again have to create a Label widget, and for the user to let enter the message we will create an Entry widget for the same. To display both of them again we will make use of “.grid()” and set the parameters accordingly
→ For setting, we will create a button widget. It is a UI element to trigger the actions and to show it on the window we will use the .grid() method.
→ For all these to execute successfully, we need to run a tkinter event loop and with help of “.mainloop()” we will do so.
→ The last part to discuss is the function “alarm()”. In this function, first of all, we need to create a variable “a” which will store the time entered by the user. With the help of the “.strftime()” method under the “time” module we will fetch the current time. In the next step, we have to run a while loop which will update the current time.
→ In the next step, we will check the condition that the user entered time is equal to the current time. If it is then with the help of “mixer. music. load()” & “mixer.music.play()” we will load the sound file and play it respectively. Also, the message box will appear with the help of “tkinter. messagebox()”, and whenever the user will press okay then the sound should stop, for that, we have used “mixer.stop()”
By following these steps, you can easily create a GUI alarm clock using tkinter!
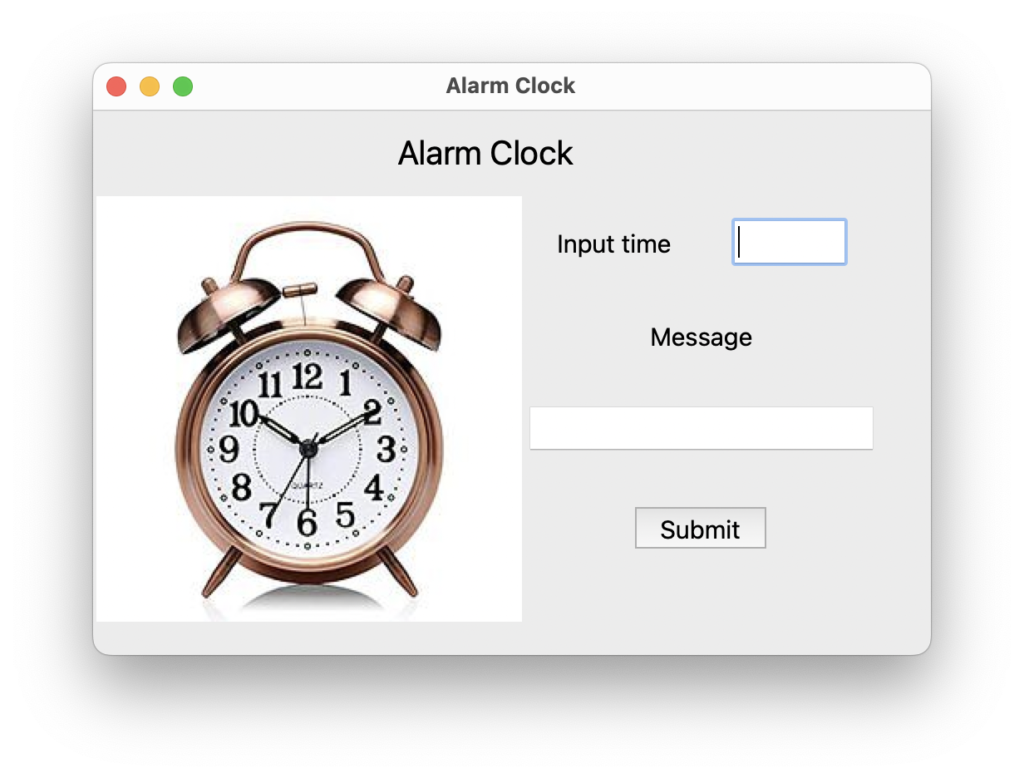
Output:
Find More Projects

URL Shortener Using Python Django Introduction: Long URLs can be shortened into short, shareable links with the help of the URL Shortener …

User Authentication System Using Python Django Introduction: The implementation of safe and adaptable user authentication in Django is the main goal of …

The E-Learning System using Java with a Graphical User Interface (GUI) Introduction The E-Learning System is developed using Java (with a Graphical …

Weather App Using Python Django Introduction: When a user enters the name of a city, the Weather App retrieves current weather information. …

Quiz App Using Python Django Introduction: Users can take quizzes in a variety of subjects, see their results, and monitor their progress …

resume screener in python using python introduction The hiring process often begins with reviewing numerous resumes to filter out the most suitable …
Get Huge Discounts

More Python Projects
