
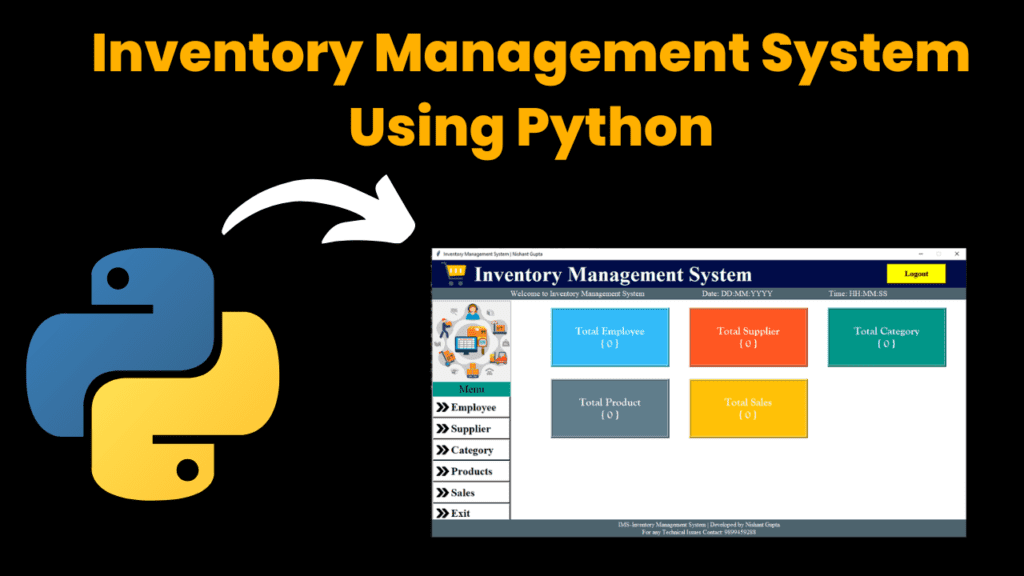
Inventory Management System Using Python
Introduction
The Inventory Management System is a Python-based project built using Tkinter, which provides a simple graphical user interface (GUI). This system makes it easier for businesses to manage their inventory, including products, suppliers, employees, and sales. It also handles billing, allowing businesses to keep track of sales transactions and invoices.
The system is made up of 8 Python scripts that all work together to make the system function smoothly. These scripts use different Python libraries like Tkinter for the interface, Pillow (PIL) for image handling, SQLite3 for the database, and os for file management. Each script has a specific job, such as managing employees, products, or sales.
The main goal of this system is to simplify inventory management. Businesses can use it to keep track of stock, suppliers, and employees, making their workflow more efficient. The user interface is easy to use, and everything you need is just a click away. You can add new products, employees, suppliers, and even manage sales and billing, all in one place.
How to Run the Code
Running the Inventory Management System on your computer is straightforward. Here are the steps:
Install Python Libraries: Before you run the system, you need to install some Python libraries. Open your terminal or command prompt and run the following commands:
pip install time
pip install pil
pip install sqlite3
pip install os
Set Up the Database:
Go to the folder where you have saved the project files.
First, run the
create_db.pyscript. This will create the database and tables needed for the system to work.Open your terminal and run this command:
python create_db.py
Start the Dashboard:
Once the database is set up, run the
dashboard.pyscript to open the main interface.Use the following command:
python dashboard.py
Add and Manage Data:
In the dashboard, you can add and manage data like employees, suppliers, products, and sales.
Click on the relevant buttons to add or update data, or view your sales and billing records.
Code Explanation
Here’s a breakdown of some of the important parts of the code:
create_db.py:
This script sets up the database. It creates the tables where all the data, such as employee details, products, and suppliers, will be stored. The script uses SQLite3, a simple database system.Example code:
import sqlite3

def create_database():
    conn = sqlite3.connect('inventory.db')
    c = conn.cursor()

    # Create the tables
    c.execute('''CREATE TABLE IF NOT EXISTS employees
                 (id INTEGER PRIMARY KEY, name TEXT, email TEXT, contact TEXT)''')
    c.execute('''CREATE TABLE IF NOT EXISTS products
                 (id INTEGER PRIMARY KEY, name TEXT, category TEXT, supplier TEXT, price REAL)''')
    conn.commit()
    conn.close()
This ensures that when you first start the system, the database is ready to store data.
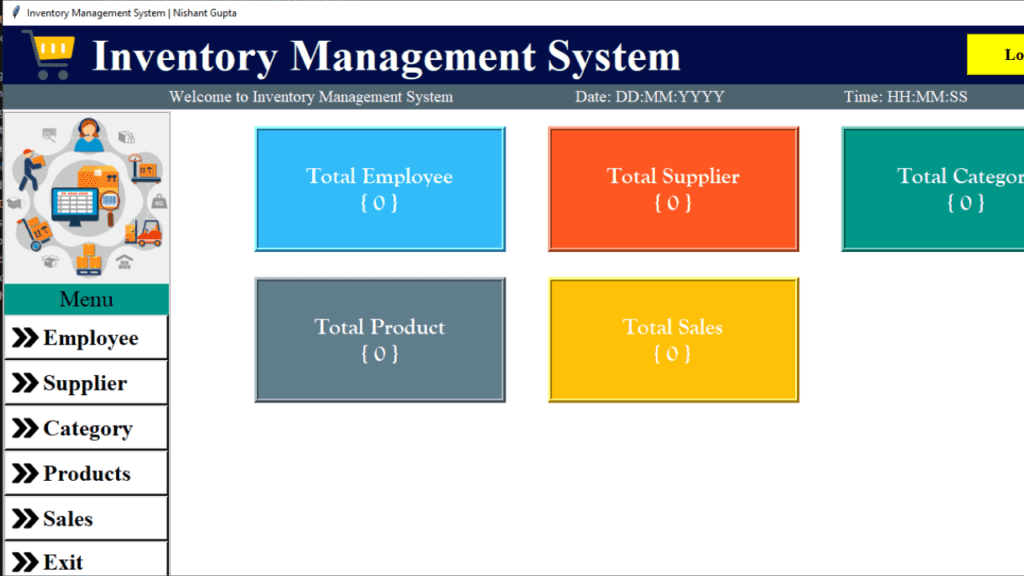
dashboard.py:
The dashboard.py file controls the main interface of the system. It shows buttons for managing employees, suppliers, products, and sales. When you click any button, the corresponding screen for managing that data opens.Example code:
import tkinter as tk
from tkinter import messagebox

def open_employee_screen():
    # Open the employee management screen
    employee_screen = tk.Toplevel(window)
    employee_screen.title("Employee Management")

window = tk.Tk()
window.title("Inventory Management Dashboard")

btn_employee = tk.Button(window, text="Employee", command=open_employee_screen)
btn_employee.pack()

window.mainloop()
The code uses Tkinter to create buttons and windows, making the interface interactive and user-friendly.
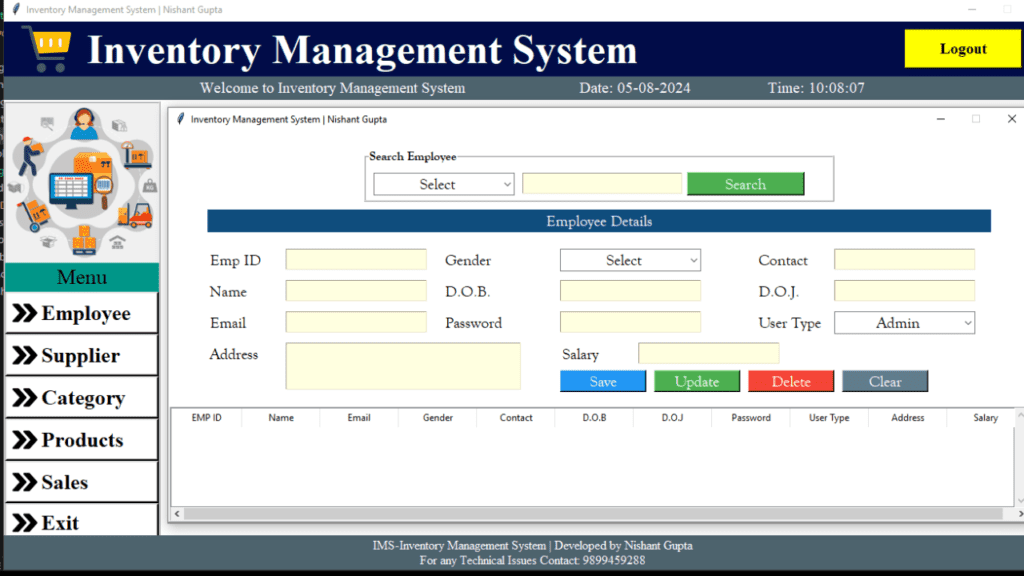
employee.py:
This script manages employee data. You can add new employees or search for existing ones by name, email, or contact details. It allows you to update or delete employee records.Example code:
def add_employee(name, email, contact): conn = sqlite3.connect('inventory.db') c = conn.cursor() c.execute("INSERT INTO employees (name, email, contact) VALUES (?, ?, ?)", (name, email, contact)) conn.commit() conn.close()billing.py:
The billing.py script handles everything related to billing. It calculates the total price of the products selected by the customer, including any discounts. It also generates invoices.Example code:
def calculate_total(products, discounts):
    total = sum([product['price'] for product in products])
    discount_amount = total * (discounts / 100)
    return total - discount_amount
This script is important because it helps the system calculate the total bill for each sale and generate invoices.
Provided Code
Here’s a list of the Python files used in this project:
create_db.py– Sets up the database and tables.dashboard.py– Controls the main dashboard interface.employee.py– Manages employee records.supplier.py– Manages supplier data.product.py– Manages product details.category.py– Handles product categories.sales.py– Tracks sales transactions.billing.py– Handles billing and invoice generation.
Source Code
Output
More Projects:

URL Shortener Using Python Django
URL Shortener Using Python Django Introduction: Long URLs can be shortened into short, shareable links with the help of the URL Shortener project. Though it

User Authentication System Using Python Django
User Authentication System Using Python Django Introduction: The implementation of safe and adaptable user authentication in Django is the main goal of this project. It
E-Learning System Using JAVA
The E-Learning System using Java with a Graphical User Interface (GUI) Introduction The E-Learning System is developed using Java (with a Graphical User interface through

Weather App Using Python Django with Source Code
Weather App Using Python Django Introduction: When a user enters the name of a city, the Weather App retrieves current weather information. It provides temperature,

Quiz App Using Python Django with complete source code
Quiz App Using Python Django Introduction: Users can take quizzes in a variety of subjects, see their results, and monitor their progress with the Django

Resume Screener in python using GUI
resume screener in python using python introduction The hiring process often begins with reviewing numerous resumes to filter out the most suitable candidates for a
Get Huge Discounts

More Python Projects
