The E-Learning System using Java with a Graphical User Interface (GUI)
Introduction
The E-Learning System is developed using Java (with a Graphical User interface through Java Swing and AWT), and is a desktop educational management system focused on improving digital learning.
In this fast-paced digital age, there is an increasing need for flexible and scalable education solutions. The E-Learning System by Subhranshu Patra fills this gap with a potential desktop-based learning experience for students, teachers, and admins. It embraces the traditional classroom experience while taking full advantage of modern digital efficiencies.
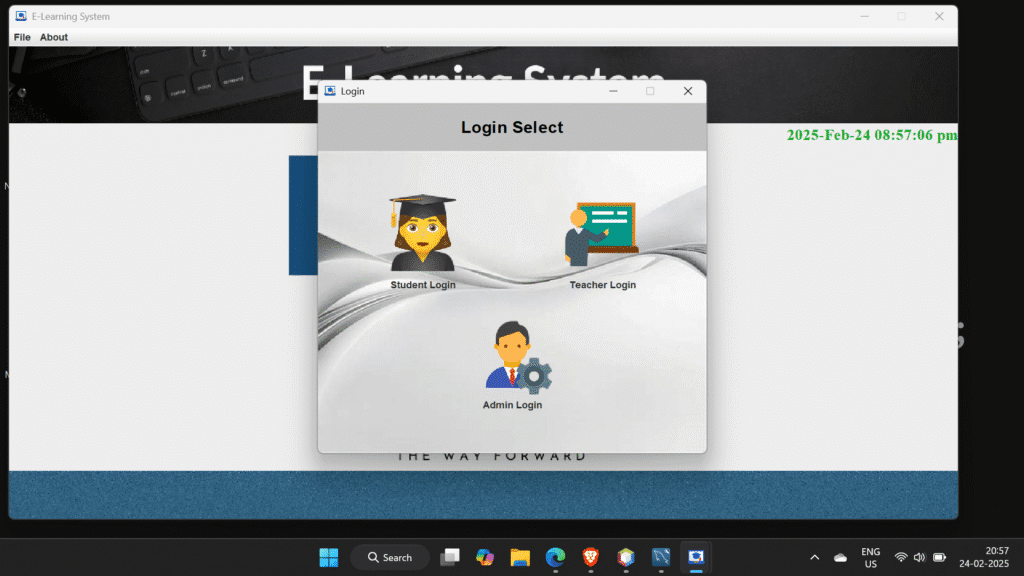
The project is based on three user modules:
- Admin: Controls the teachers, the students, and the subjects.
- Teacher: Uploads course content and controls enrollment.
- Student: Enrolls in courses, views study content, and interacts with the built-in AI chatbot.
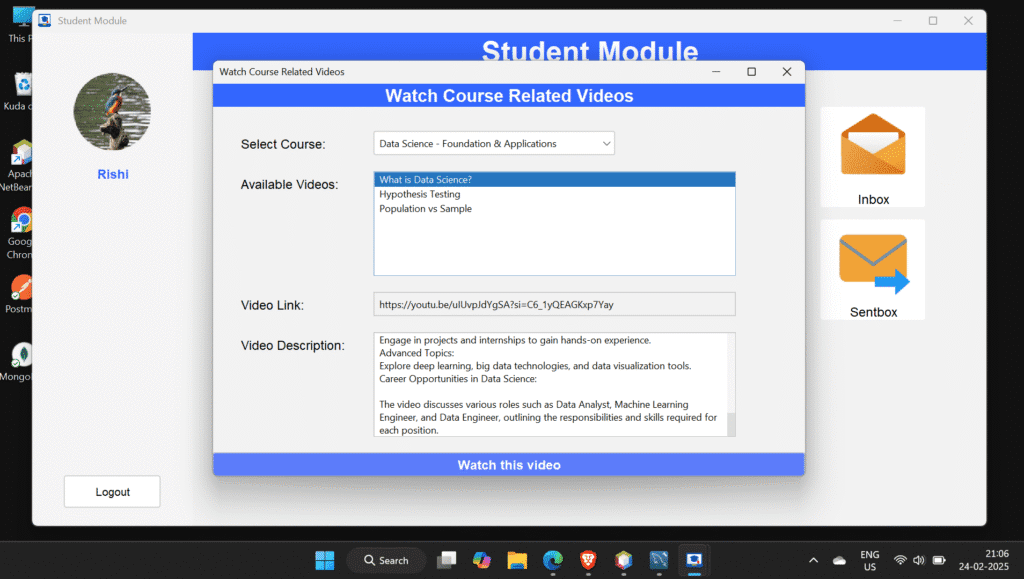
The biggest unique feature is Gemini AI Chatbot Integration as an Educational Assistant. Students can ask questions about their study materials and receive intelligent answers, mimicking real-time Q&A with a tutor. It features a built-in PDF reader, an integrated YouTube video viewer, and an internal messaging system making it an entirely self-contained e-learning platform. The GUI includes a decent user experience (UX), tab-based interface that uses form validation for all input and provides feedback to the user as well for a better experience.
This system will solve the problem of remote learning and help define just how digital education can be truly interactive, AI-supported, and browser free.
Required modules and packages
The following items are necessary to setup and run the project:
1. Java Development Kit (JDK): Required to compile and run the application.
Installation: JDK
2. Java Swing & AWT: Default libraries from Java used to develop the GUI. They have everything to manage layout, fields for input, buttons, and other objects.
3. MySQL: A relational database that stores user details, subjects, courses, and messages.
Installation:
sudo apt install mysql-server
4. JDBC: Java Database Connectivity, it is Java’s native API to query and connect to our MySQL Database.
5. MySQL Workbench / XAMPP: GUI tools to help manage your database if you are not comfortable using the CLI to manage it.
Make sure the Java is added to your path and MySQL is running locally for the application to run correctly.
How to Run the code:
To successfully setup and run the project, follow these steps:
1. Clone the Repository
Use git to clone the project:
git clone https://github.com/Subhranshu-Patra29/E-Learning-System.git
2. Open Project In IDE
- Use netbeans, eclipse or ideaIntelliJ.
- Open the project folder in the IDE as a Java project.
3. Setup the MySQL Database
- Using MySQL Workbench or your preferred tool, set up the MySQL Database.
- Create a new schema or database named elearningsystem.
- Run the included SQL script ELearningSystem.sql in the repo, which will create all the necessary tables (student, teacher, admin, course, subject, etc.).
4. Configure JDBC
Within the Java code (it is usually in a file like DBConnection.java), you will set your personal database credentials:
String url = "jdbc:mysql://localhost:3306/elearningsystem";

String user = "root";

String password = "your_password";
5. Build and Run the Project
- In netbeans, right click on the project and click Clean and Build.
- Run the main class, often LoadingScreen.java or Main.java.
6. Login or Register
- Use the default values in the SQL script to login or a registration form to create new users.
- Depending on your role (Student, Teacher, admin), you will navigate the app differently.
Code Explanation
1. Database Access
We centralized database connectivity with a single class: DBConnection.java. It connects to MySQL using:
Class.forName("com.mysql.jdbc.Driver");
Connection con = DriverManager.getConnection(url, user, password);
2. Login & Authentication
We have different login pages that check for the user’s roles:
PreparedStatement pst = con.prepareStatement("SELECT * FROM student WHERE email=? AND password=?");The right user’s dashboard will open upon validating the input entered.
3. Admin Features
An admin can add or remove teachers, students, and subjects:
pst = con.prepareStatement("INSERT INTO subject(subjectName) VALUES(?)");4. Teacher’s Dashboard
A teacher can:
- Upload new courses
- Add study material
- See who is enrolled
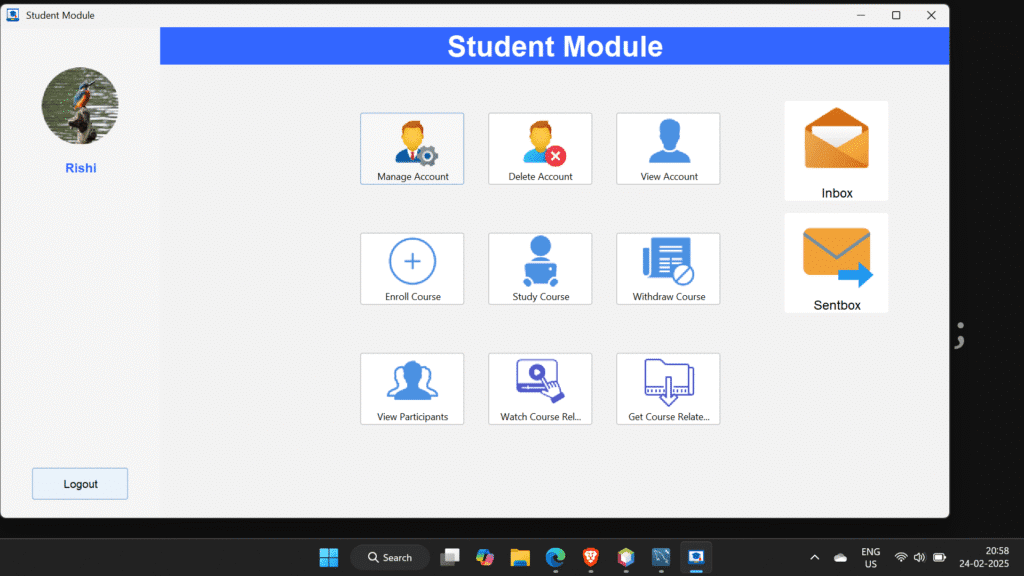
5. Student Dashboard
A student can:
- Browse courses
- Enroll in subjects
- See PDFs, videos, and talk to AI
6. PDF Reader
We made a custom PDF reader, which loads and displays in the app using PDFBox, or Swing components.
7. AI Chatbot
The Gemini AI is integrated to answer students’ questions:
String reply = GeminiChatBot.generateResponse(userQuery);
This gives the students more of a conversational experience.
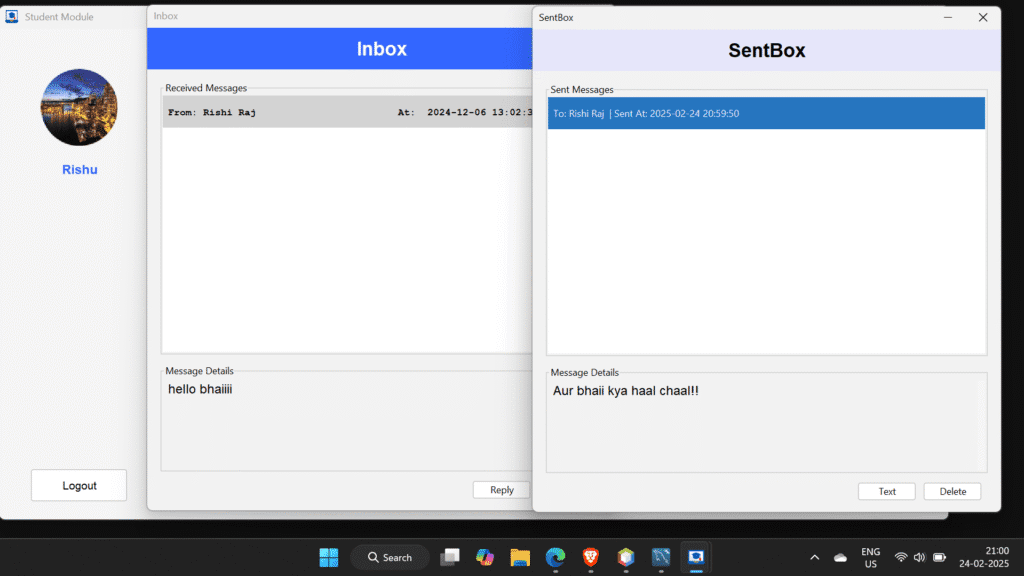
8. Messaging
A basic messaging system (like messenger, per se) allows students to communicate with teachers:
pst = con.prepareStatement("INSERT INTO messages(senderId, receiverId, message) VALUES(?,?,?)");You can see that all of our pieces are modular, which intentionally separates the UI logic from the connection with the database.
Source Code
Get Huge Discounts